
When Bob Durling emailed last week asking if there was anything to take pictures of at the farm, I got inspired. We were planning on planting the tunnels on Thursday, and wouldn’t it be cool to document the process and then put it on the blog? Well, the stars aligned, Bob was available and the weather cooperated, so, ta-da! Here is a narrative and some excellent pictures describing how we plant the tunnels.
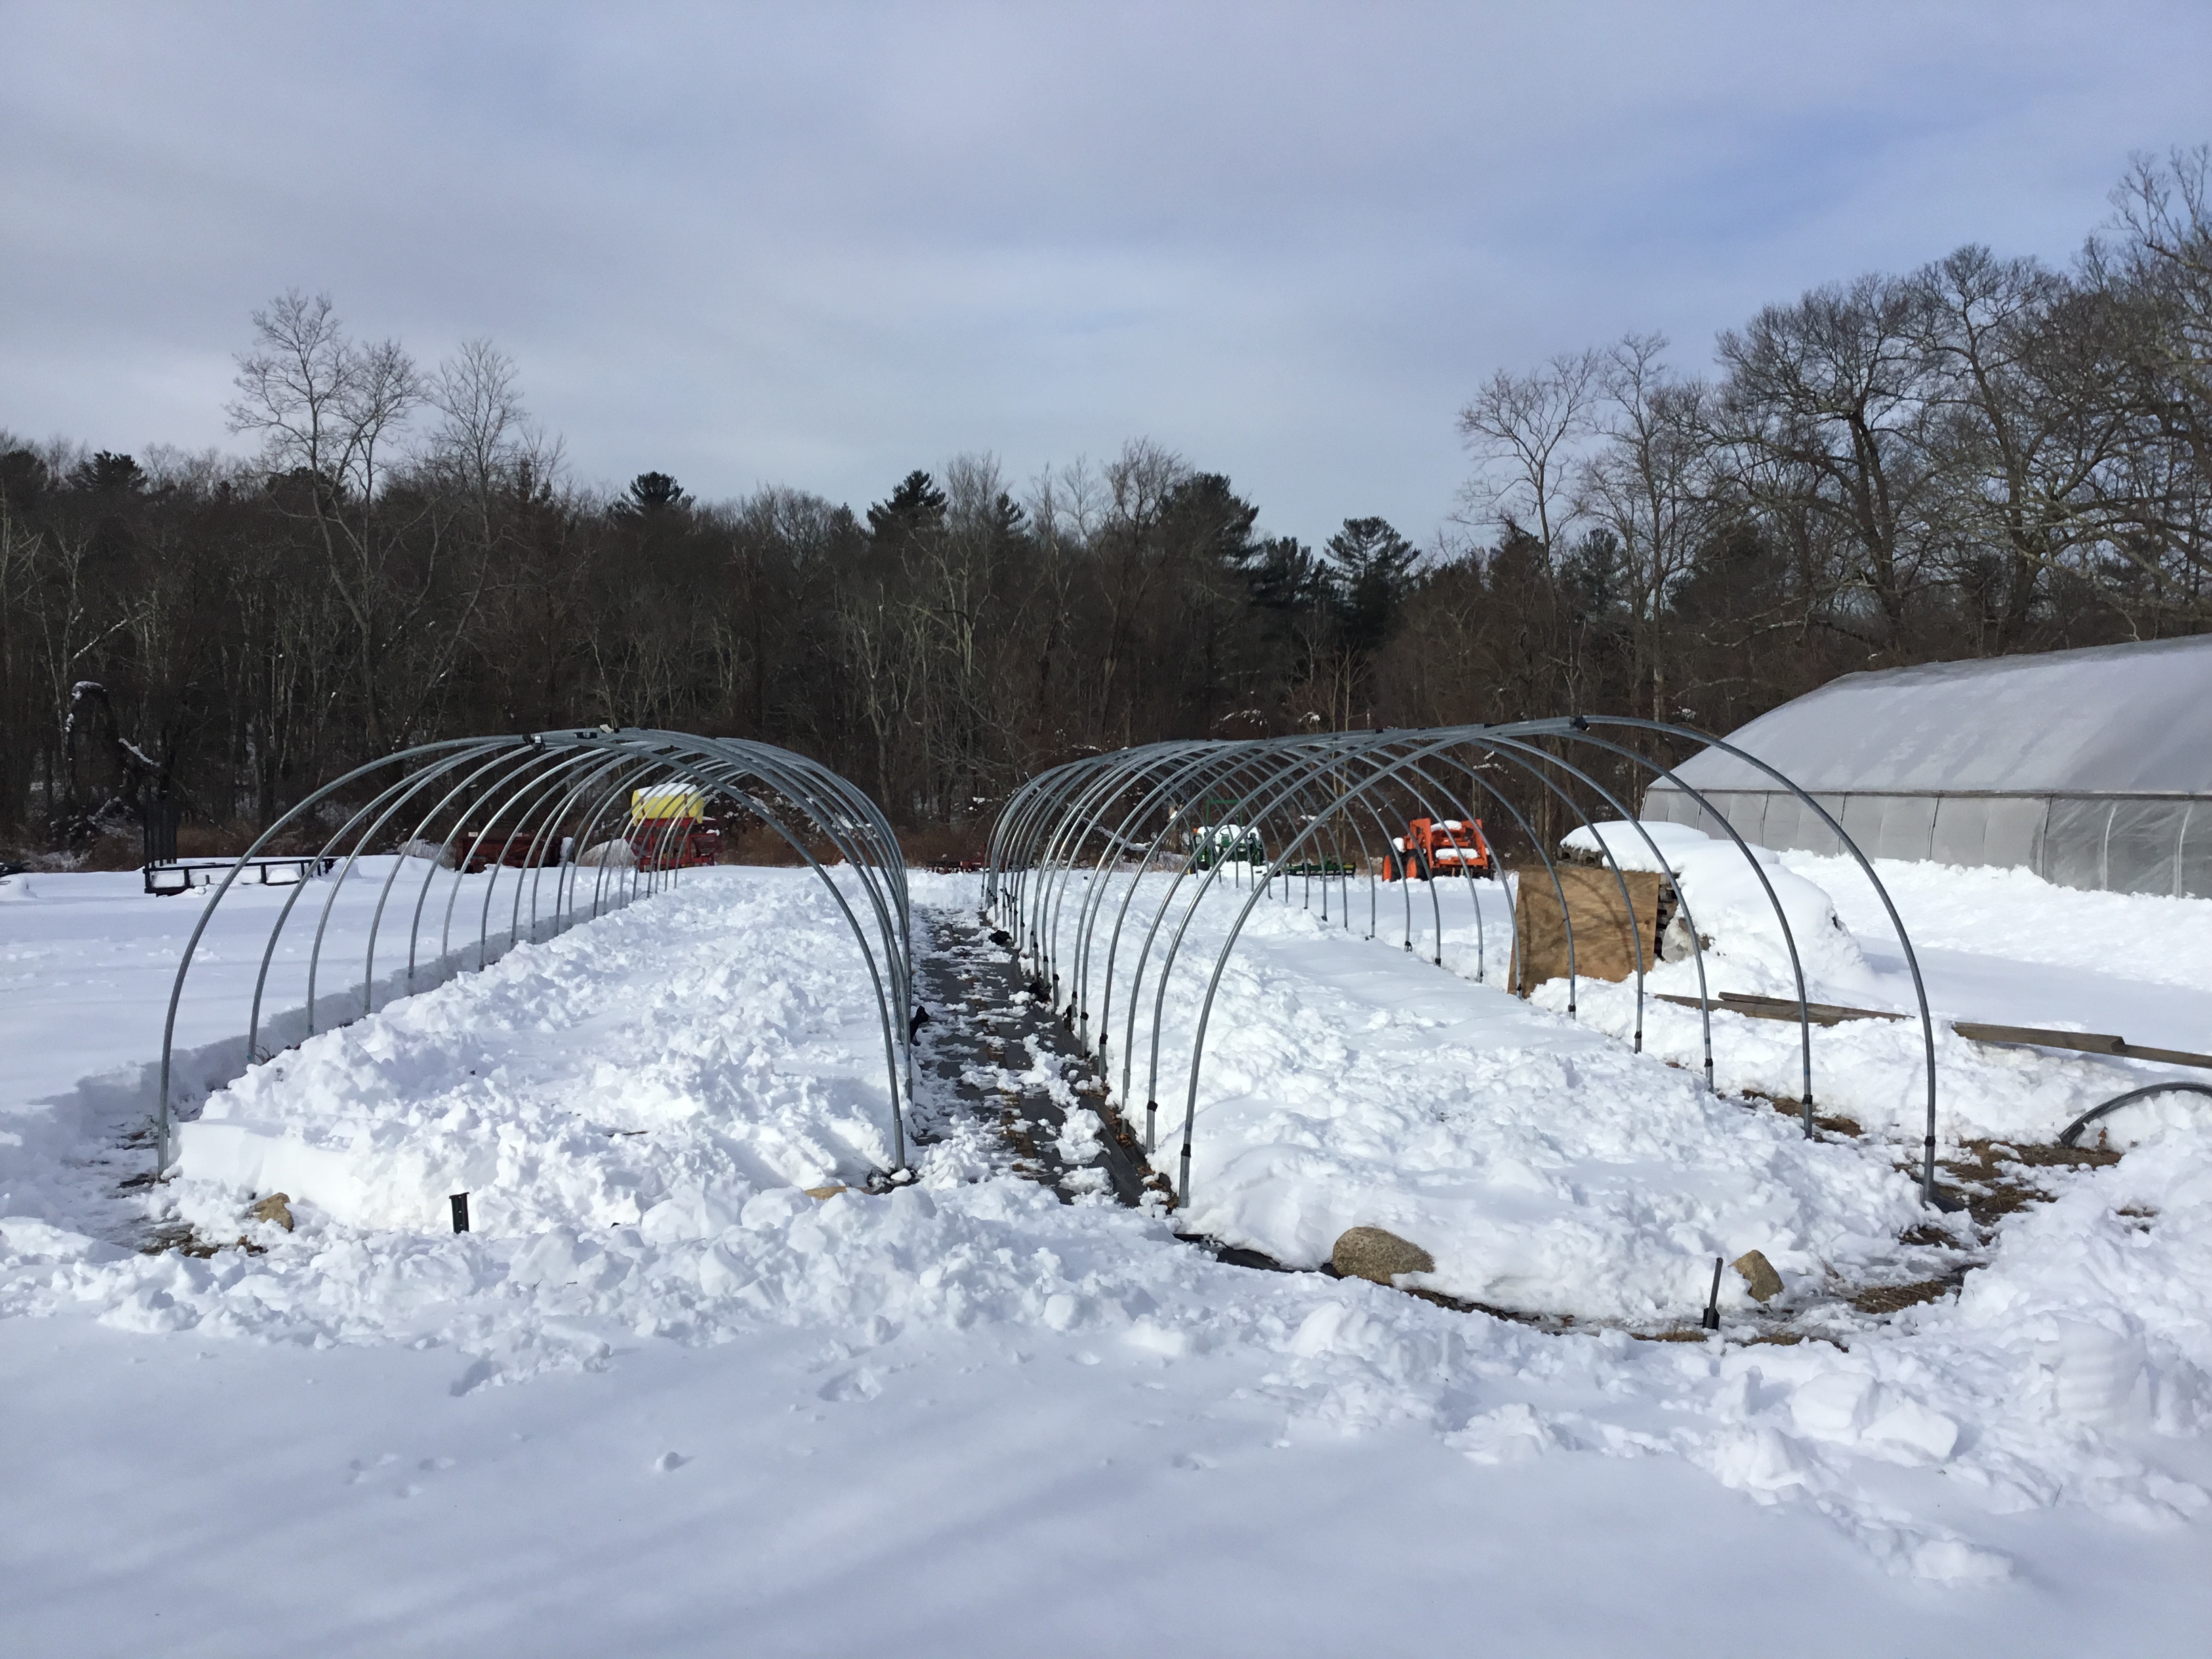
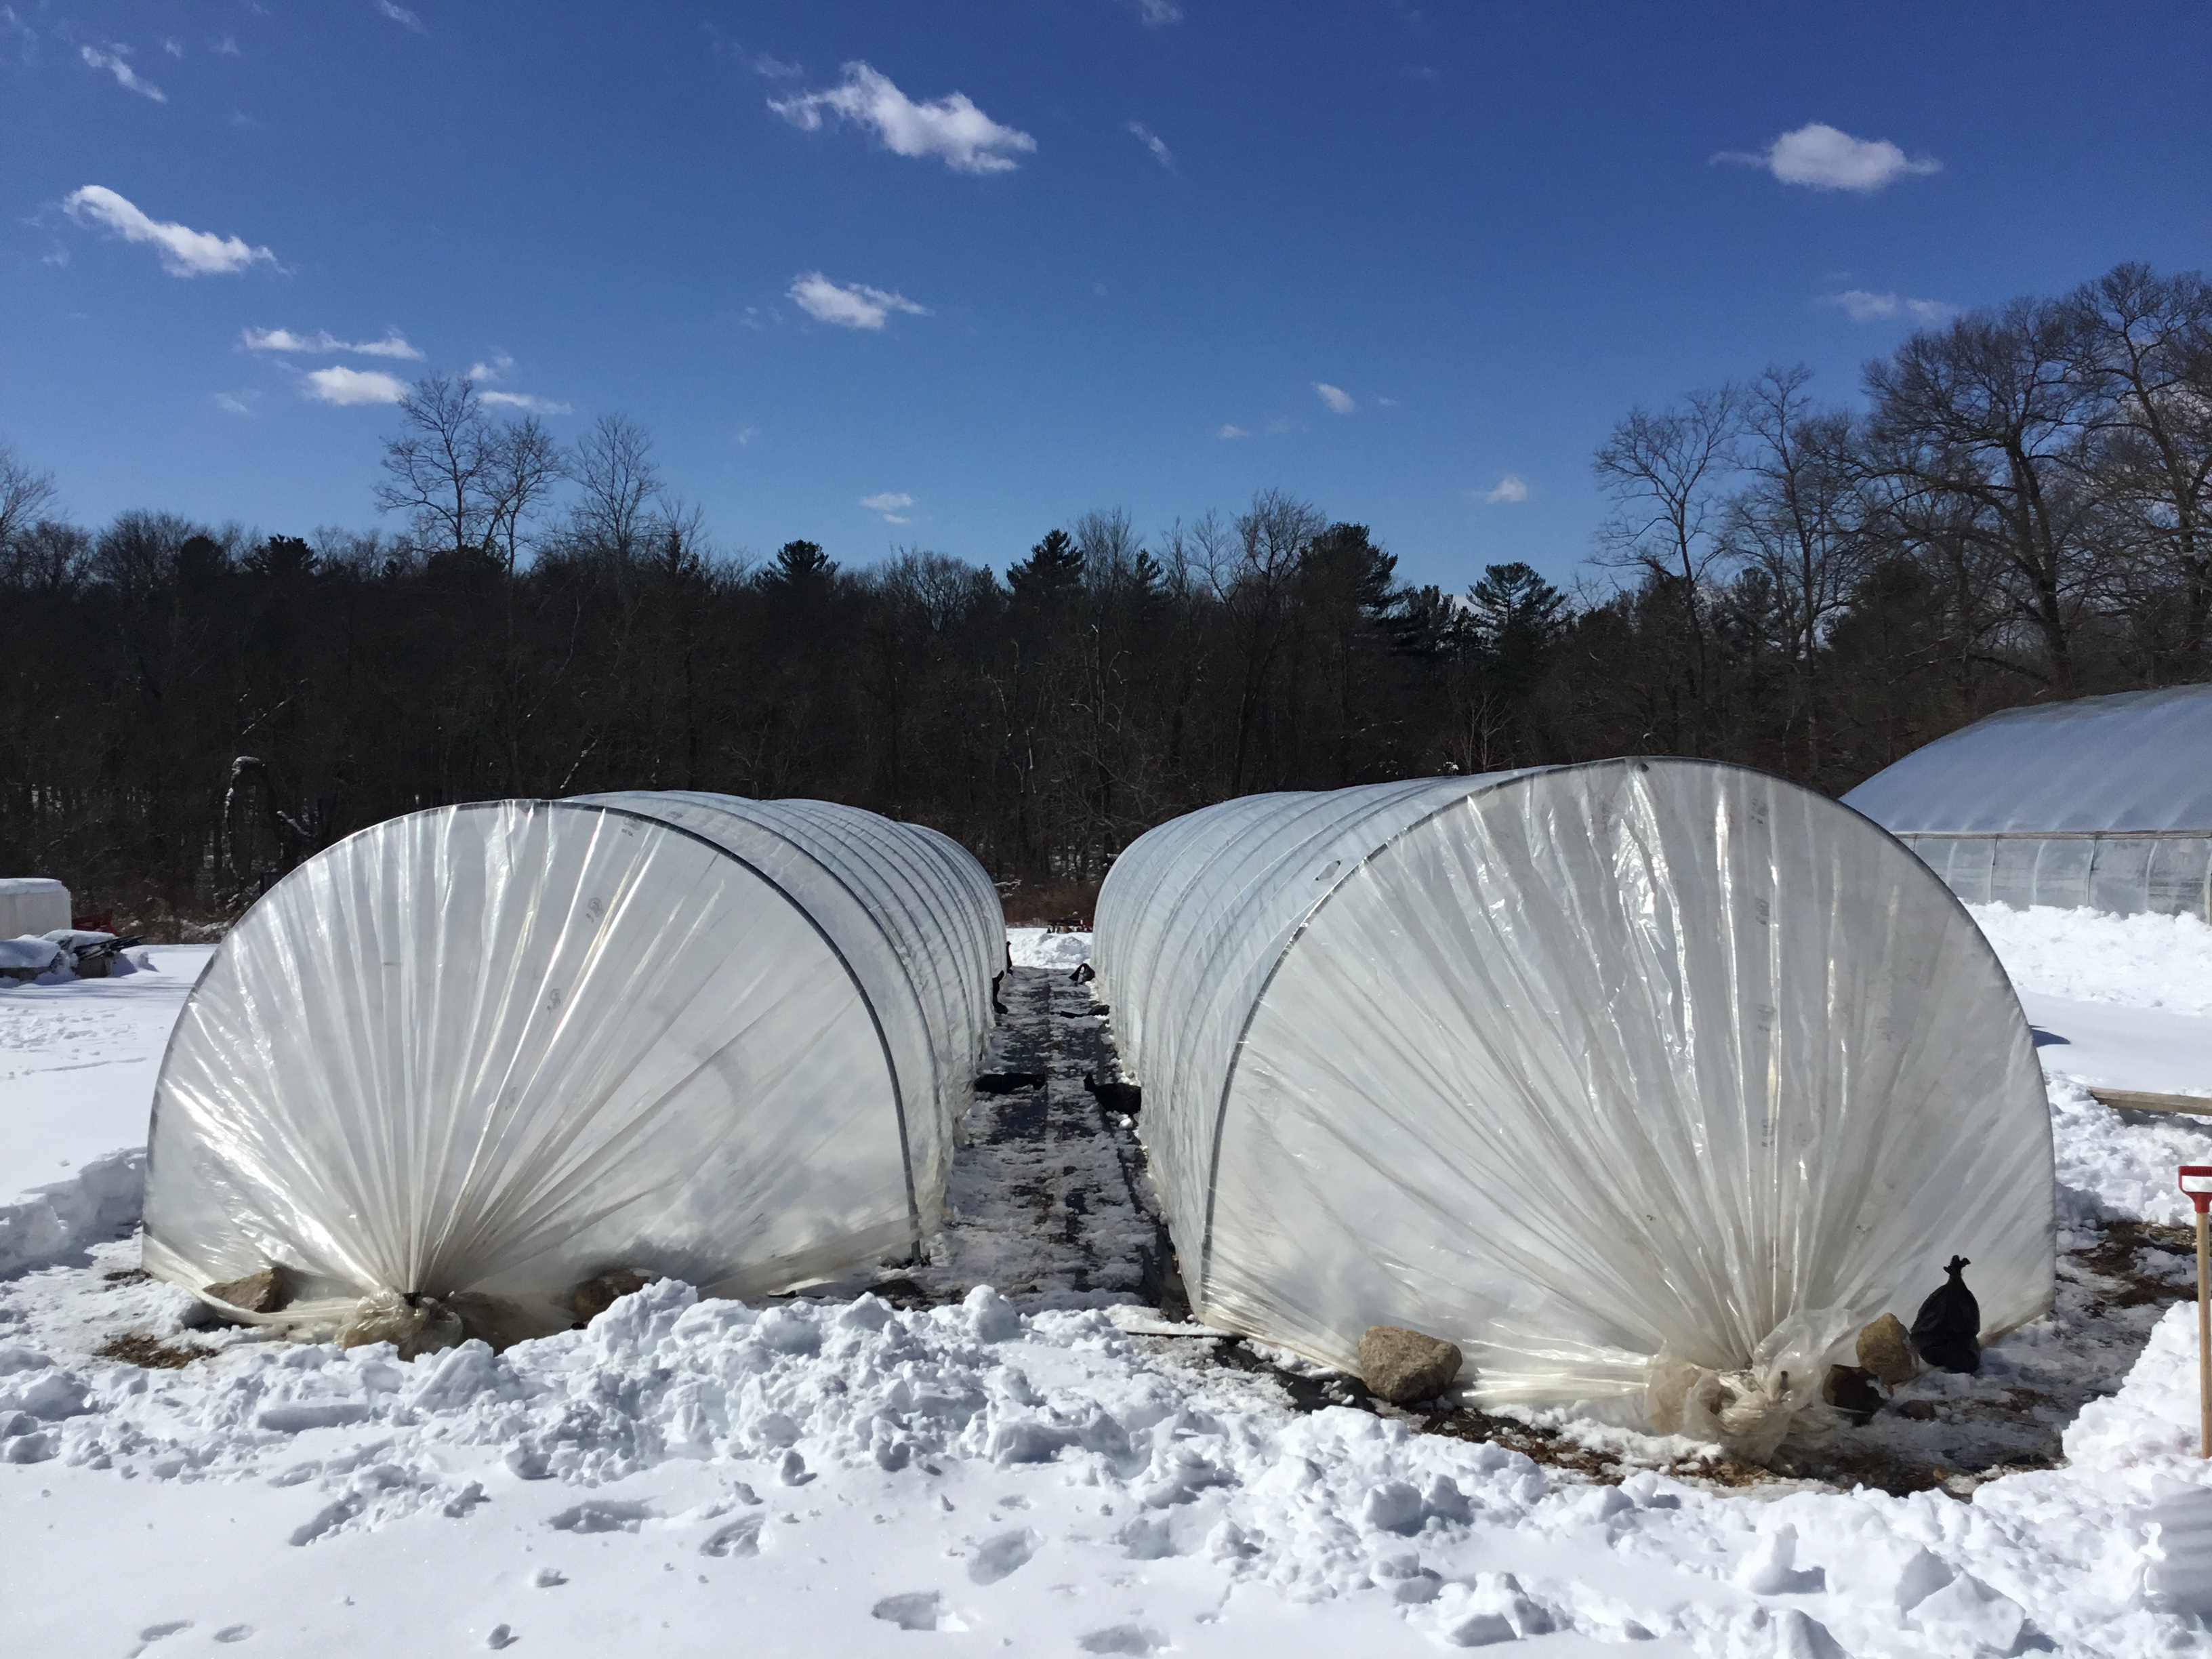
Our Tunnels are 12’x72′, with hoops spaced every 4′. Their rounded shape (refereed to as ‘quonset style’) is not sufficient to support the snow load of a typical New England winter, and their narrowness does not allow them to hold very much thermal energy, so we take the plastic off in winter, usually around Christmas, and put it back on the first week of March. This year, we let the heavy snow of early March fall before we covered: first, so we didn’t have to worry about the tunnels collapsing and second because we didn’t get much precipitation this winter, and it’s actually good for the soil to get a natural ‘flushing’ before being covered again.
We then let the soil warm and dry before spreading compost (roughly 2 yards per house). We don’t use much compost on this land because there is very high phosphorus and potassium, so adding compost (a source of both) is not recommended. But, the tunnels produce so much food each year, we like to start with a healthy dose of compost both to add slow release nutrition and as a soil conditioner. Humus, which is fully decomposed organic matter, has a slightly negative charge and can hold water and other positively charged minerals like calcium and magnesium, increasing their availability to our crops. (We did the compost the day before we did the photo-shoot, and didn’t take pics, but you can imagine Erin and Kevin shoveling rich, dark, beautiful compost off the back of the big black truck.) We buy in from Weston Nurseries in Hopkinton – it’s certified organic and high quality.

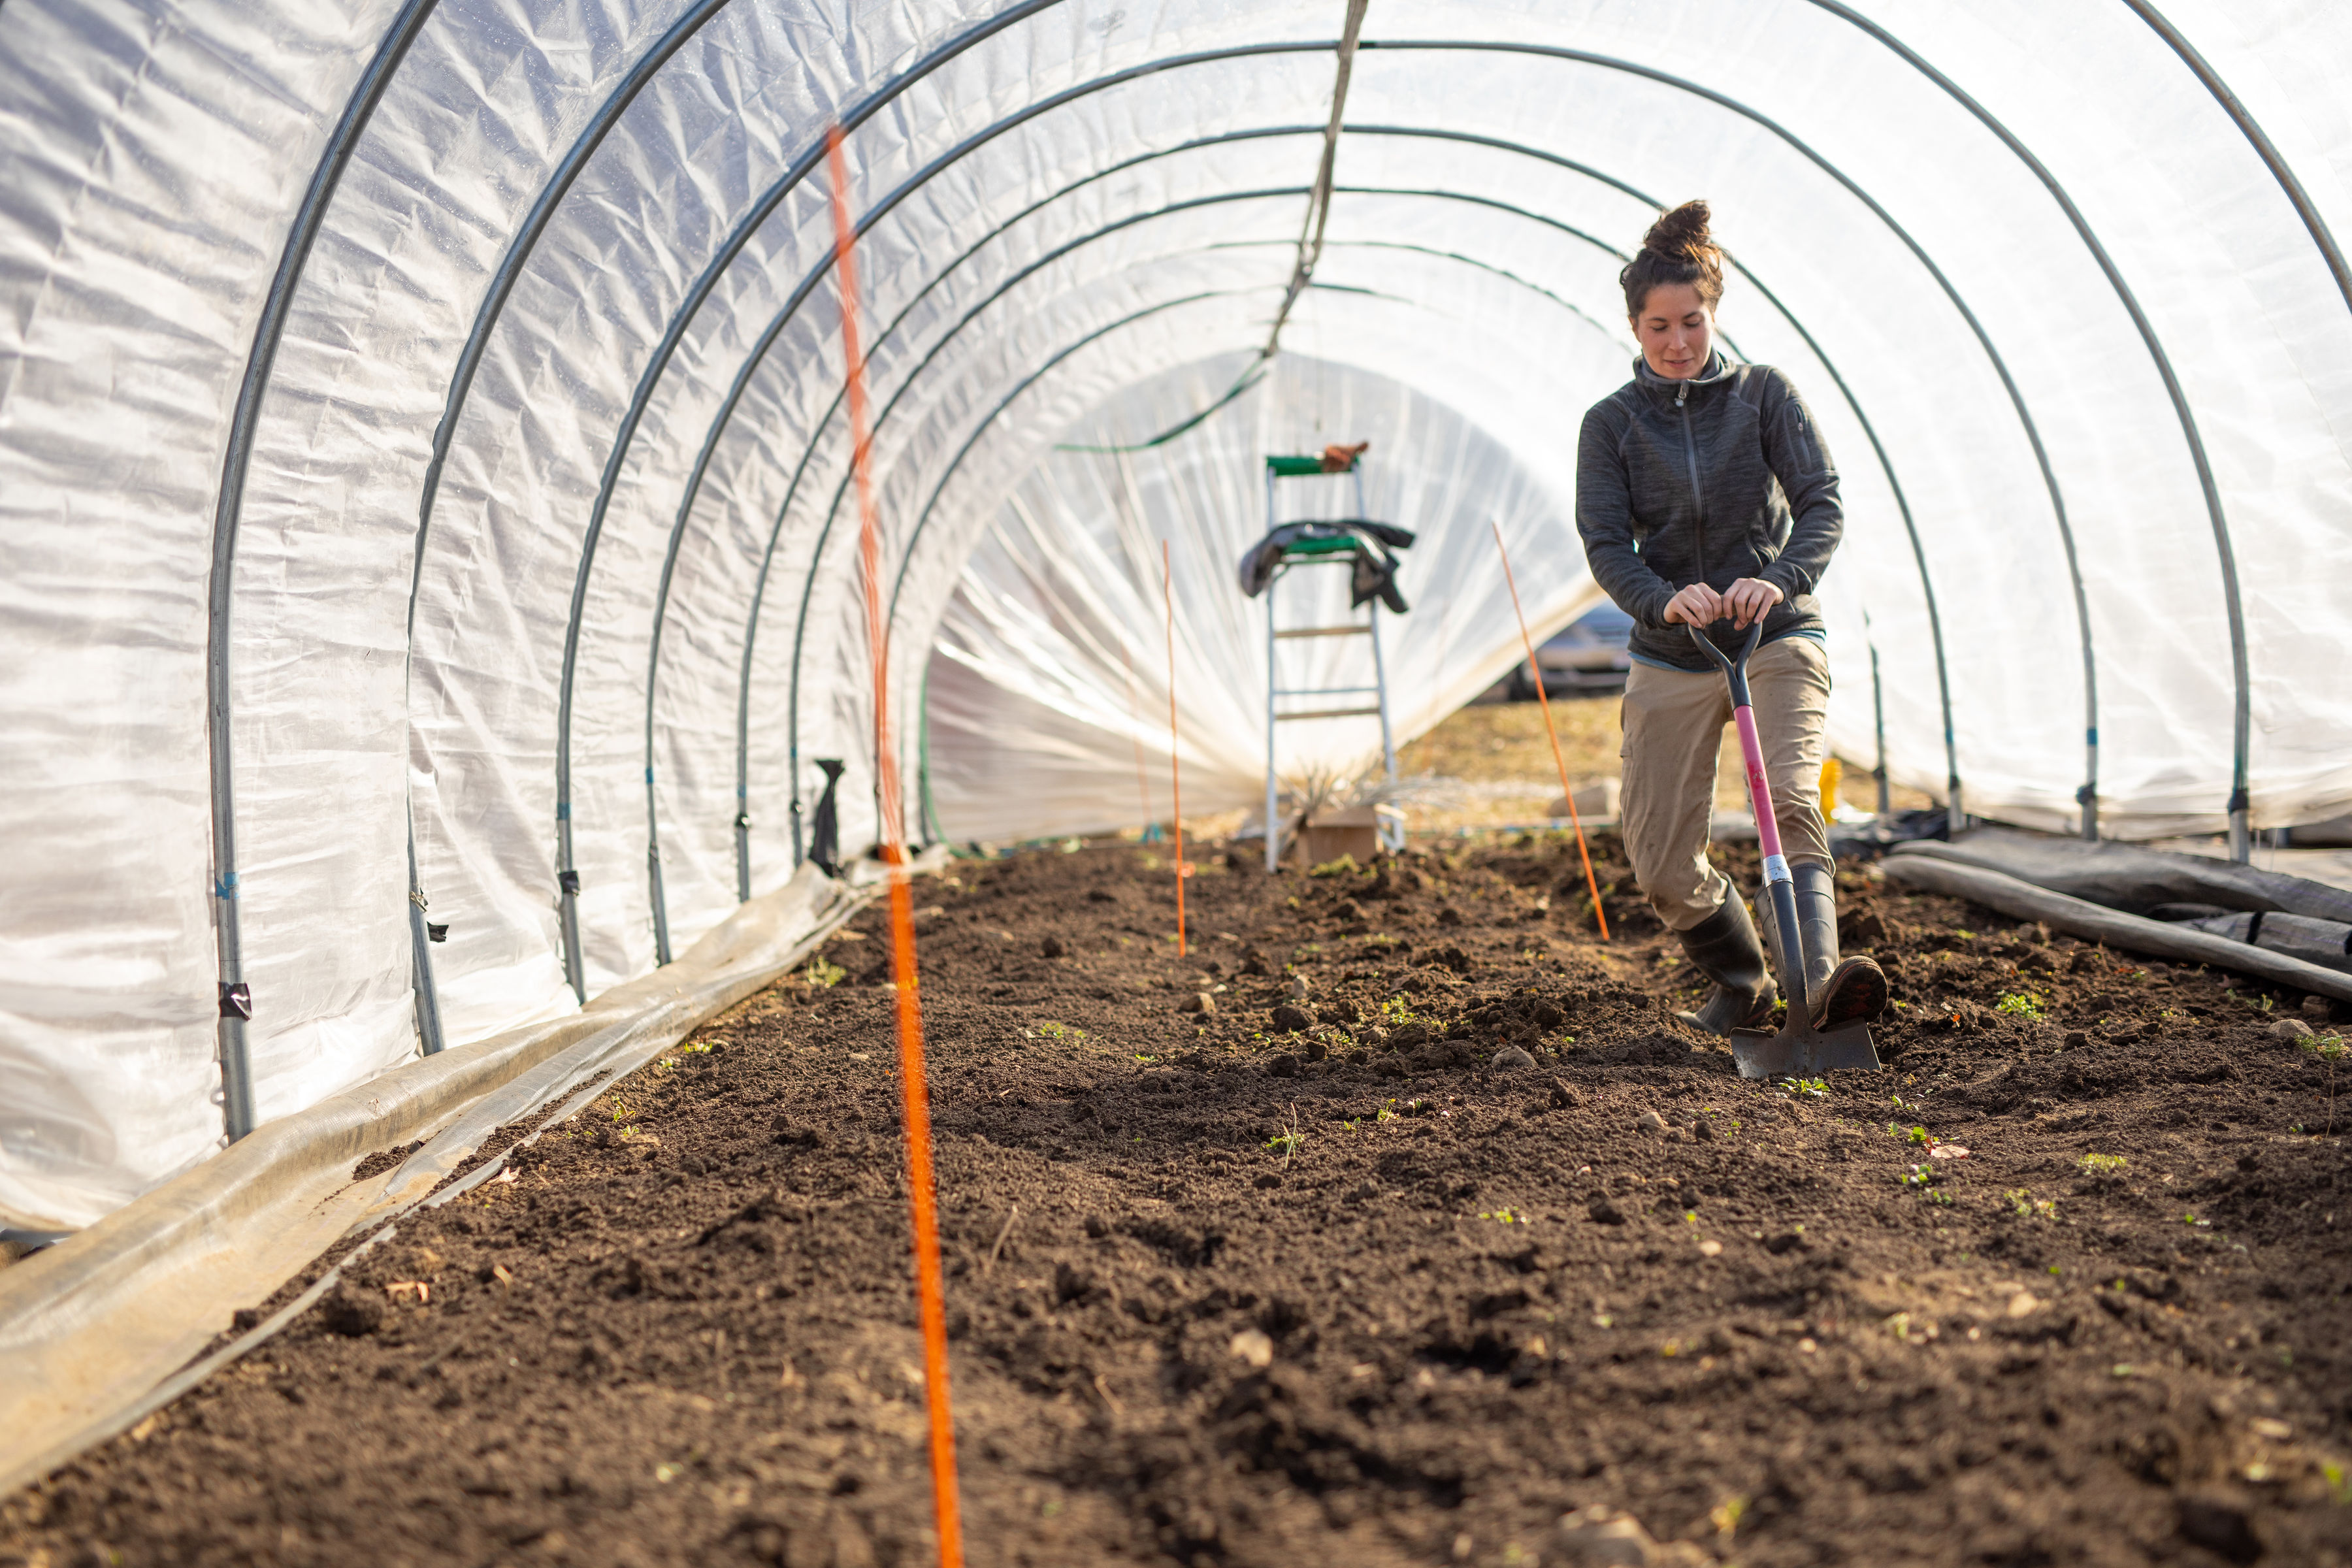
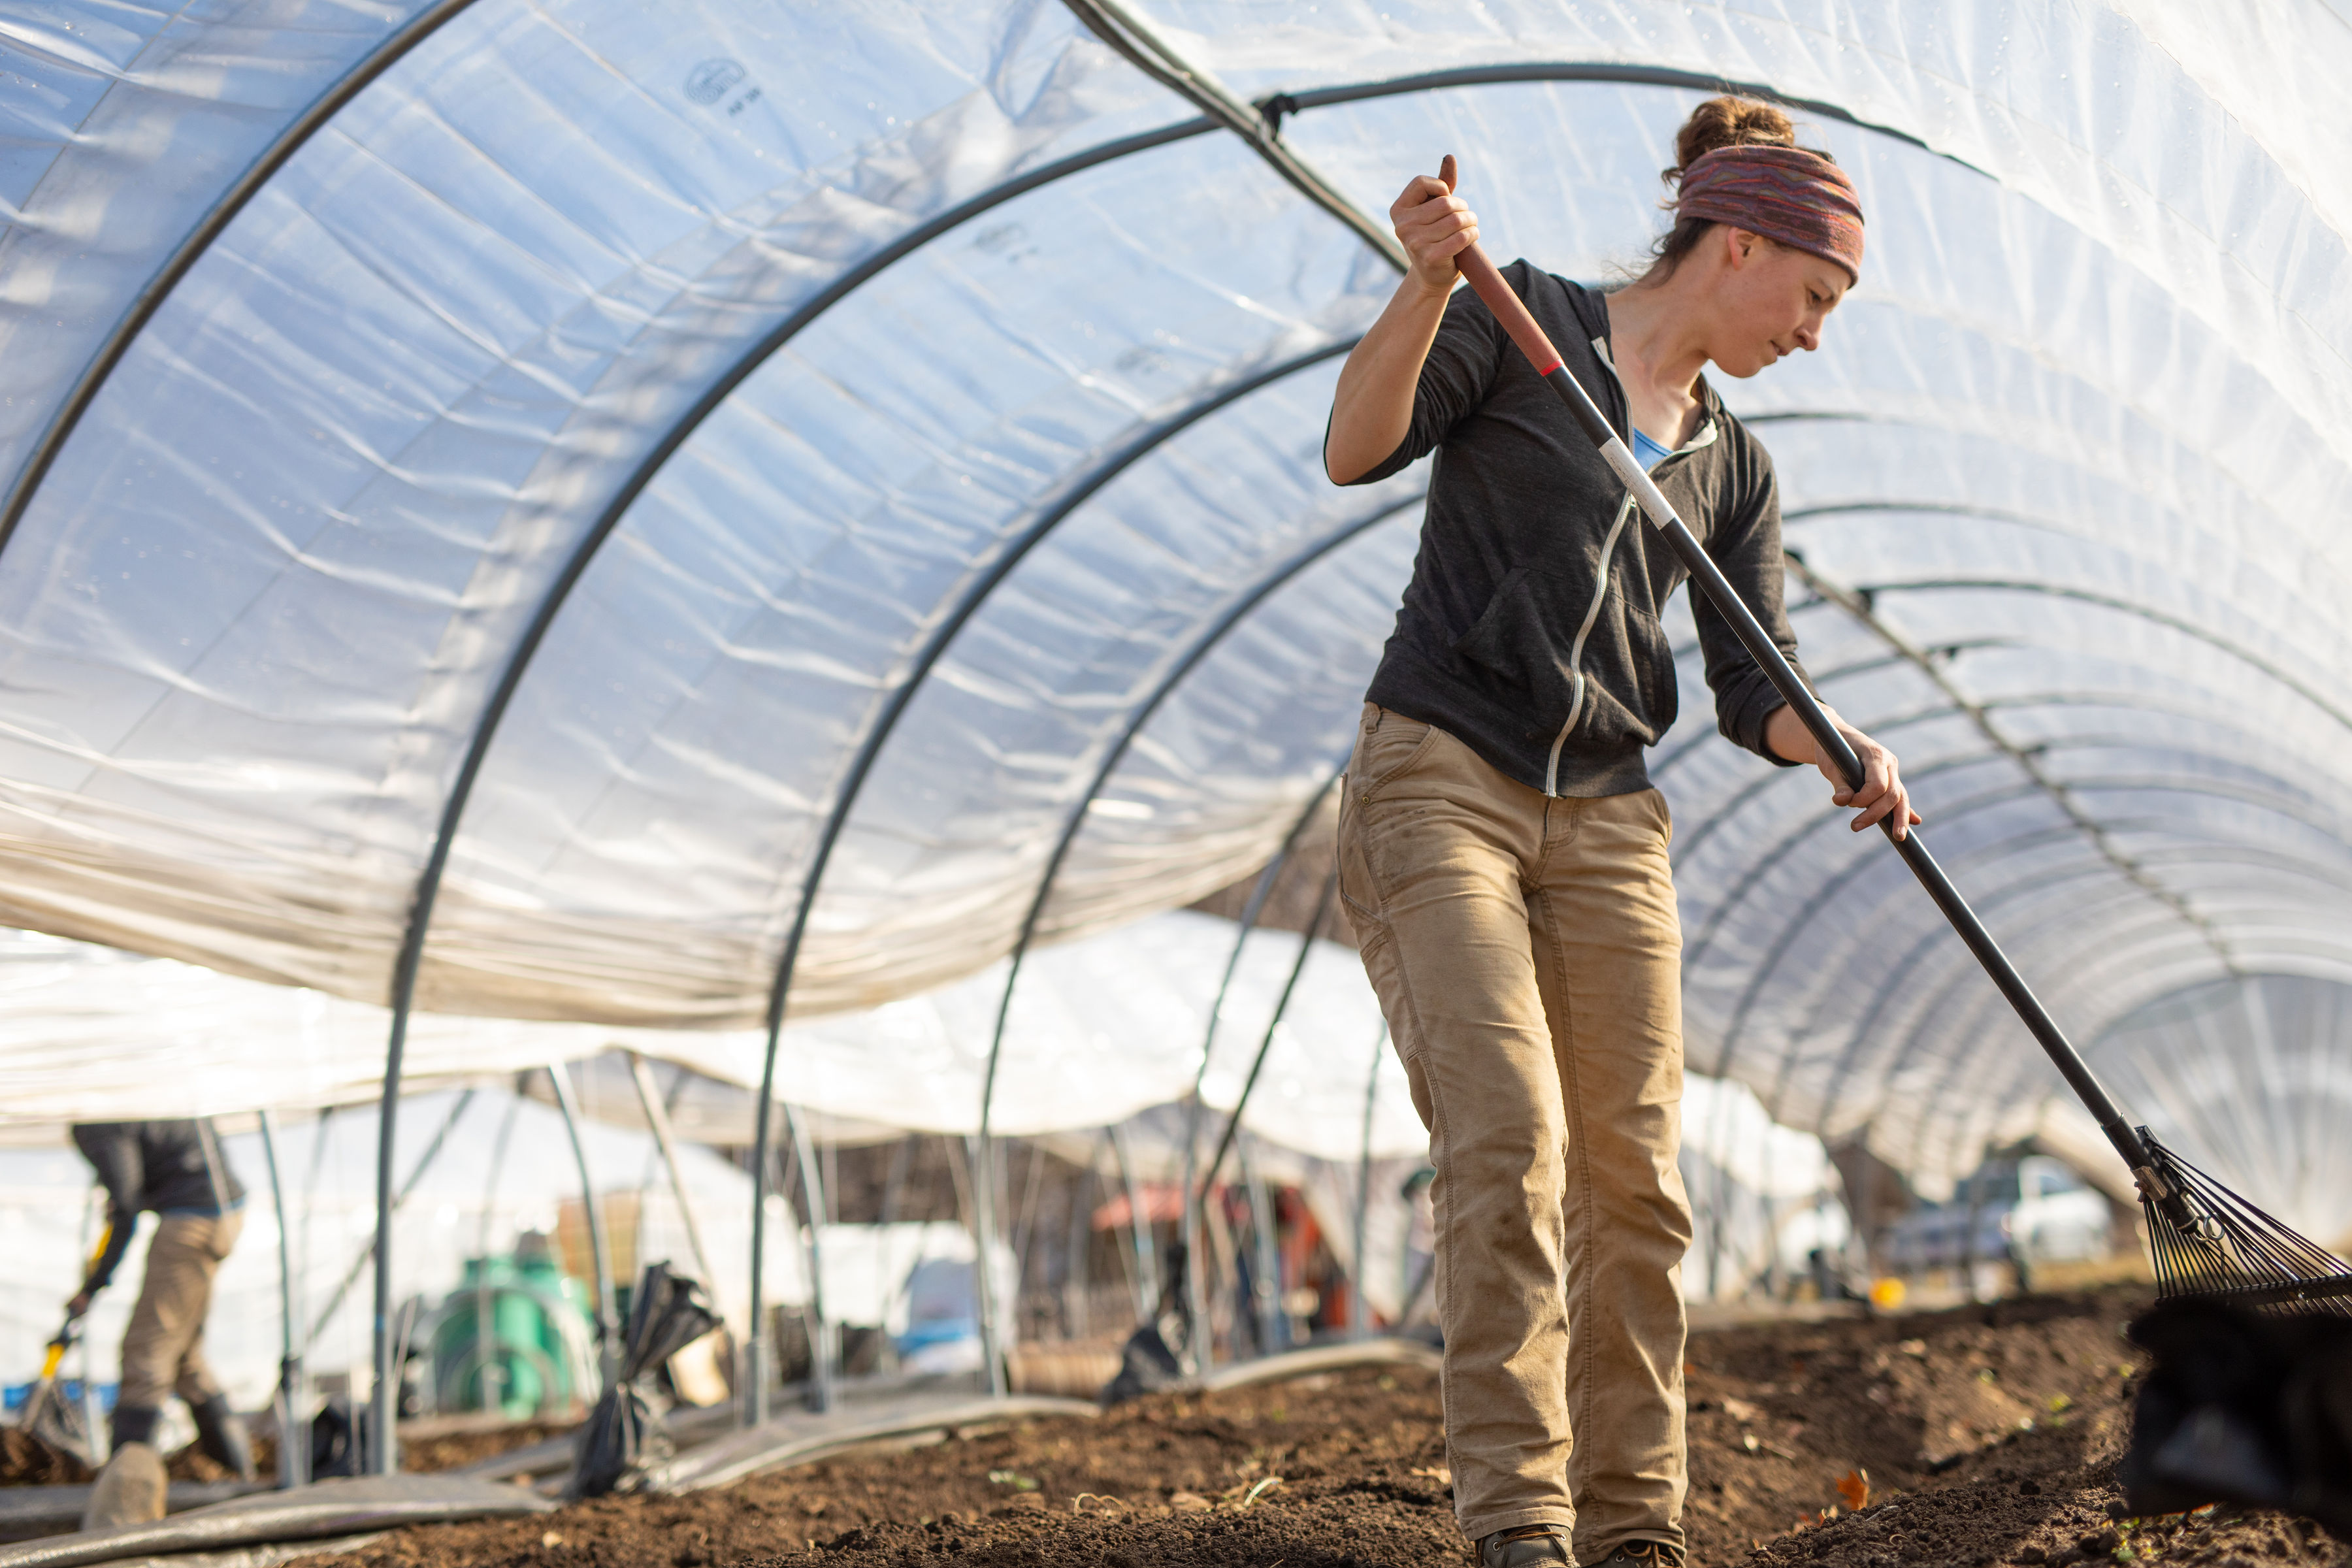

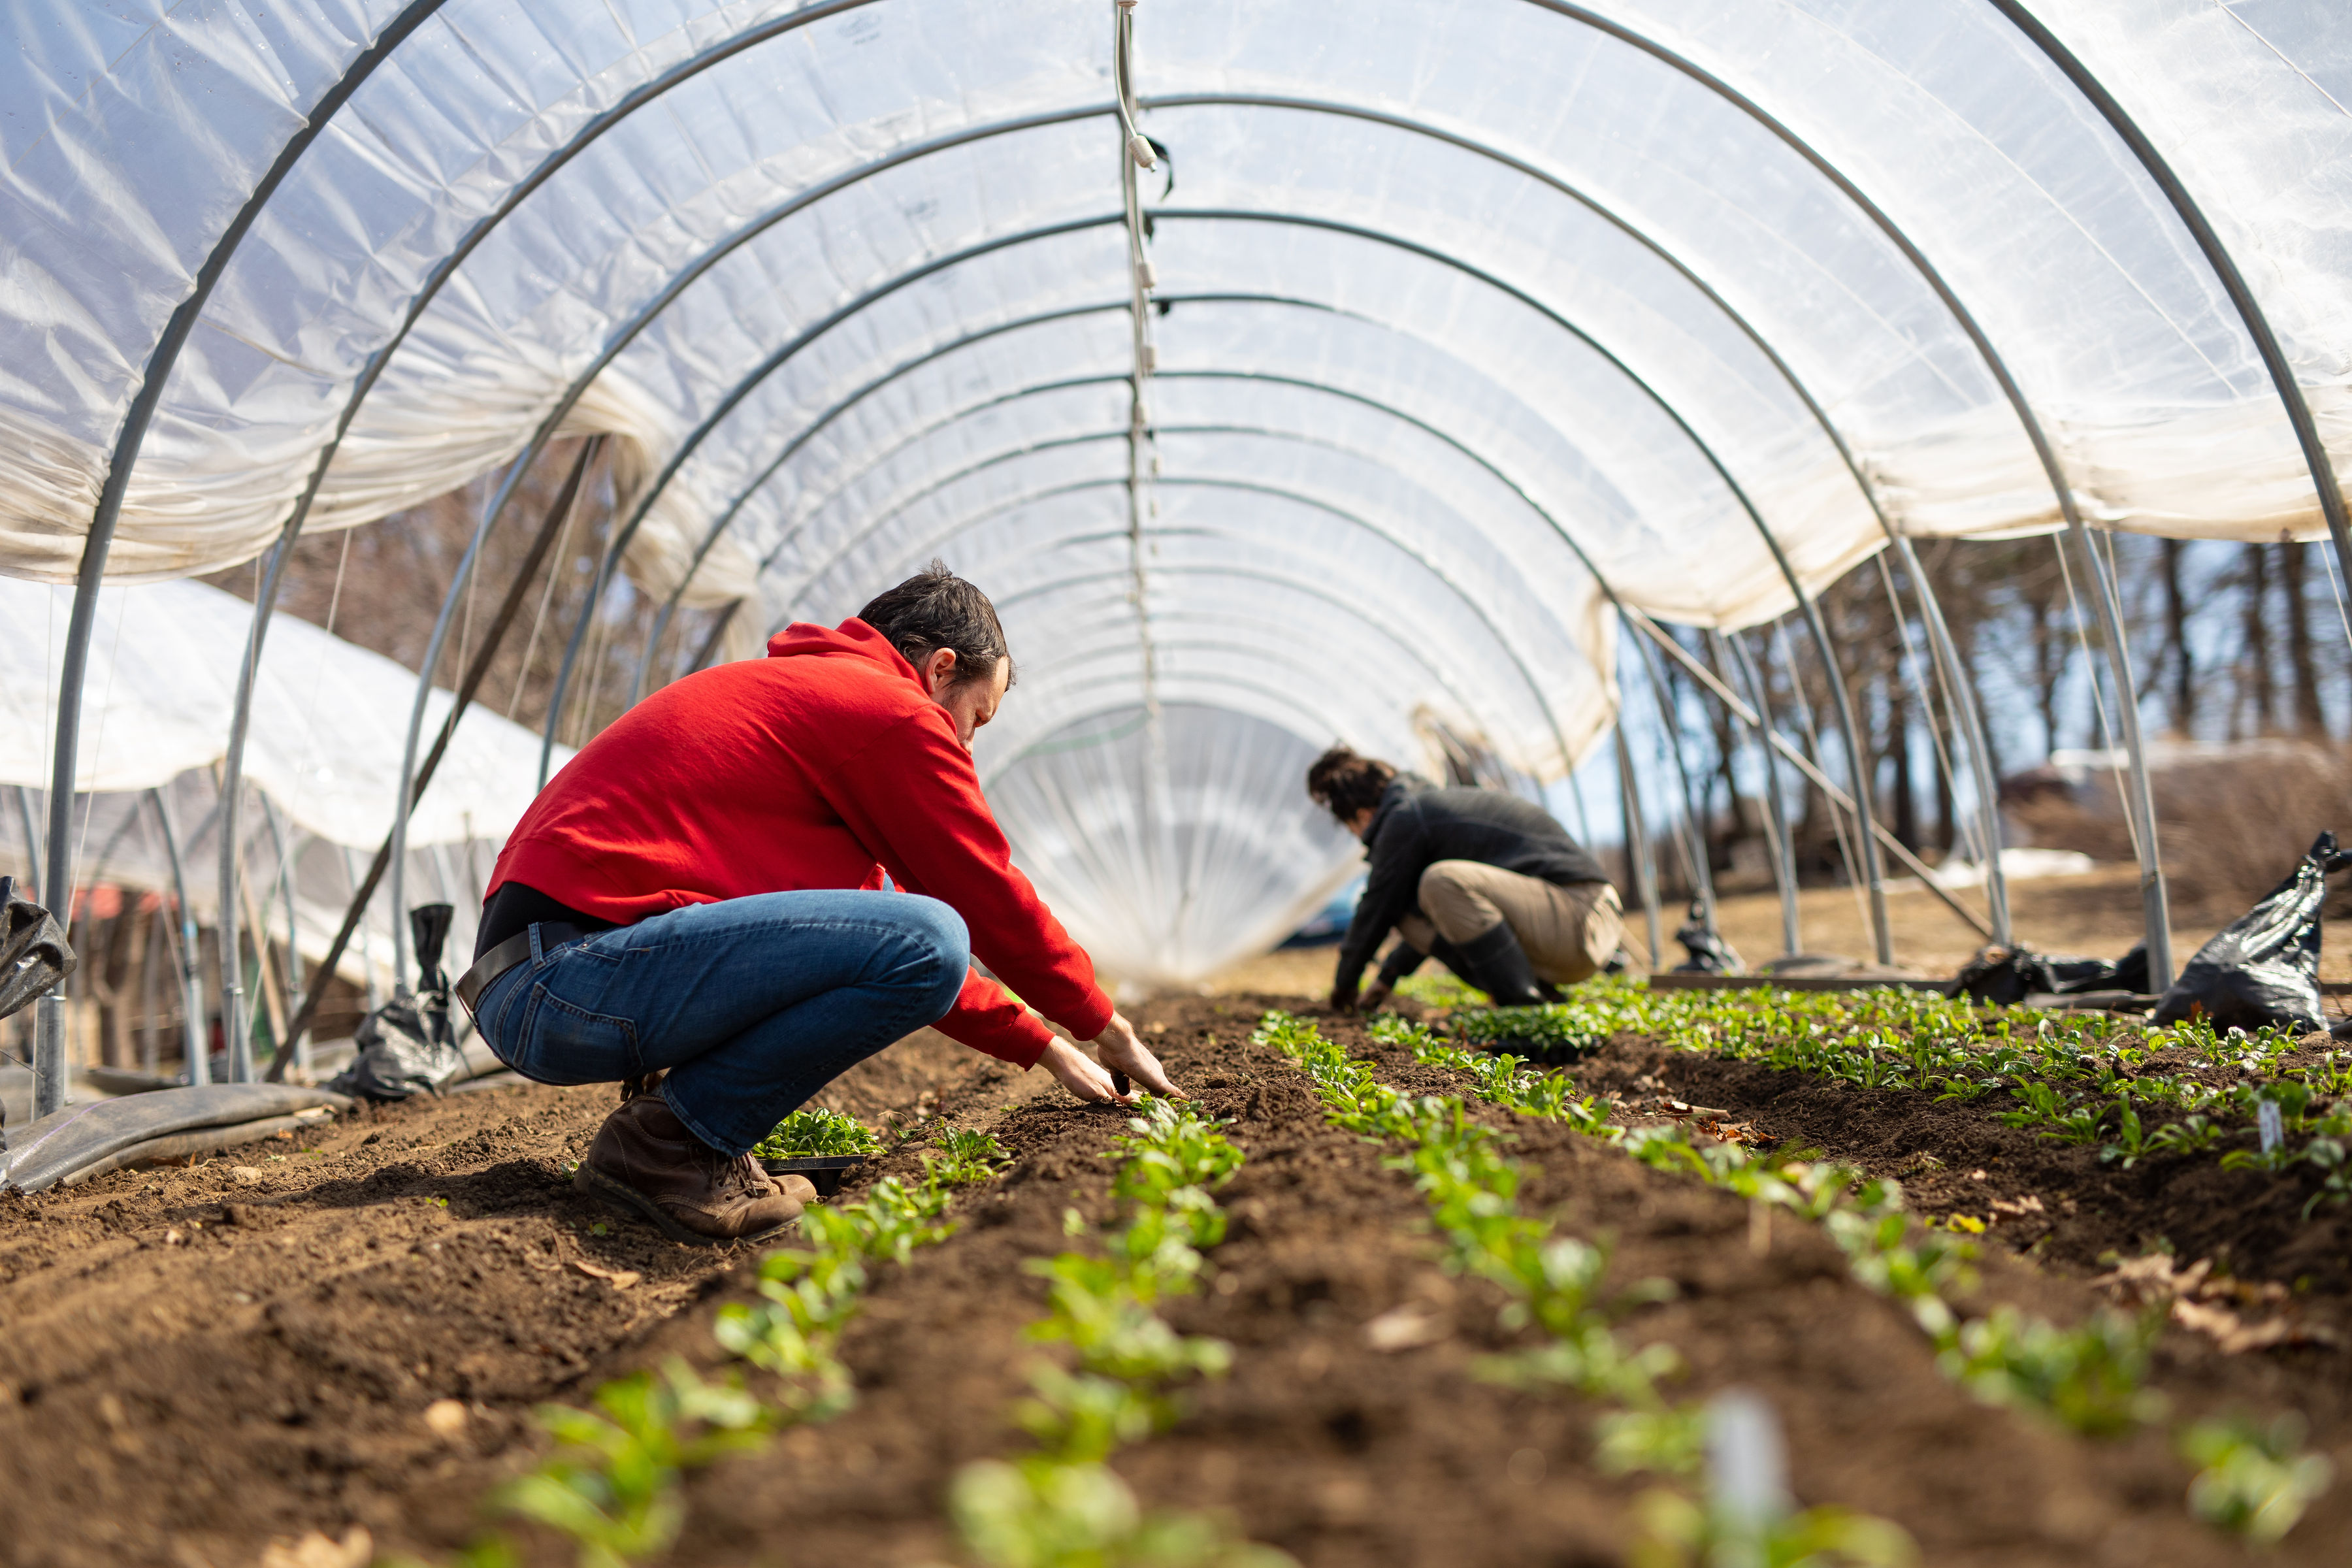
To prep the beds we first marked the center of our pathways (two per house) and used a shovel to dig them just slightly deeper than our beds, tossing the soil from the pathways into the beds. This makes our pathways clearer to see and it also helps to use the fertility of the pathway soil. We then use a broad fork (see Morgan in brown hat above on right and left) to gently loosen the soil by inserting the fork, lifting the soil just enough to loosen, then doing the same thing about 1 foot away. The soil is lifted by rocking the handles back, so there isn’t any physical lifting of soil, but still plenty of physical effort. It’s a good spring workout! Then we rake the beds level, and remove any remaining weeds (yes! there were plenty of chickweed plants that survived being uncovered from January to March).
The soil is already fairly loose and we try not to invert it when possible, so we don’t do much more than this to prep the beds. Oh! we do add a slow release organic fertilizer to provide a little extra nitrogen for our hungry spring greens.


We shake the fertilizer on by hand. The label pictured above, from the fertilizer bag, is an important one to know. It means the product has been approved for organic use by the Organic Materials Review Institute. If you are someone who cares about organic gardening, this is a good website to check out and an important label to know.
We use minimal amounts of granular fertilizer in our tunnels because they can cause a salt built up if used excessively, but because we are able to uncover the houses for a few, usually wet, months of the year, we are not too concerned with using small amounts.

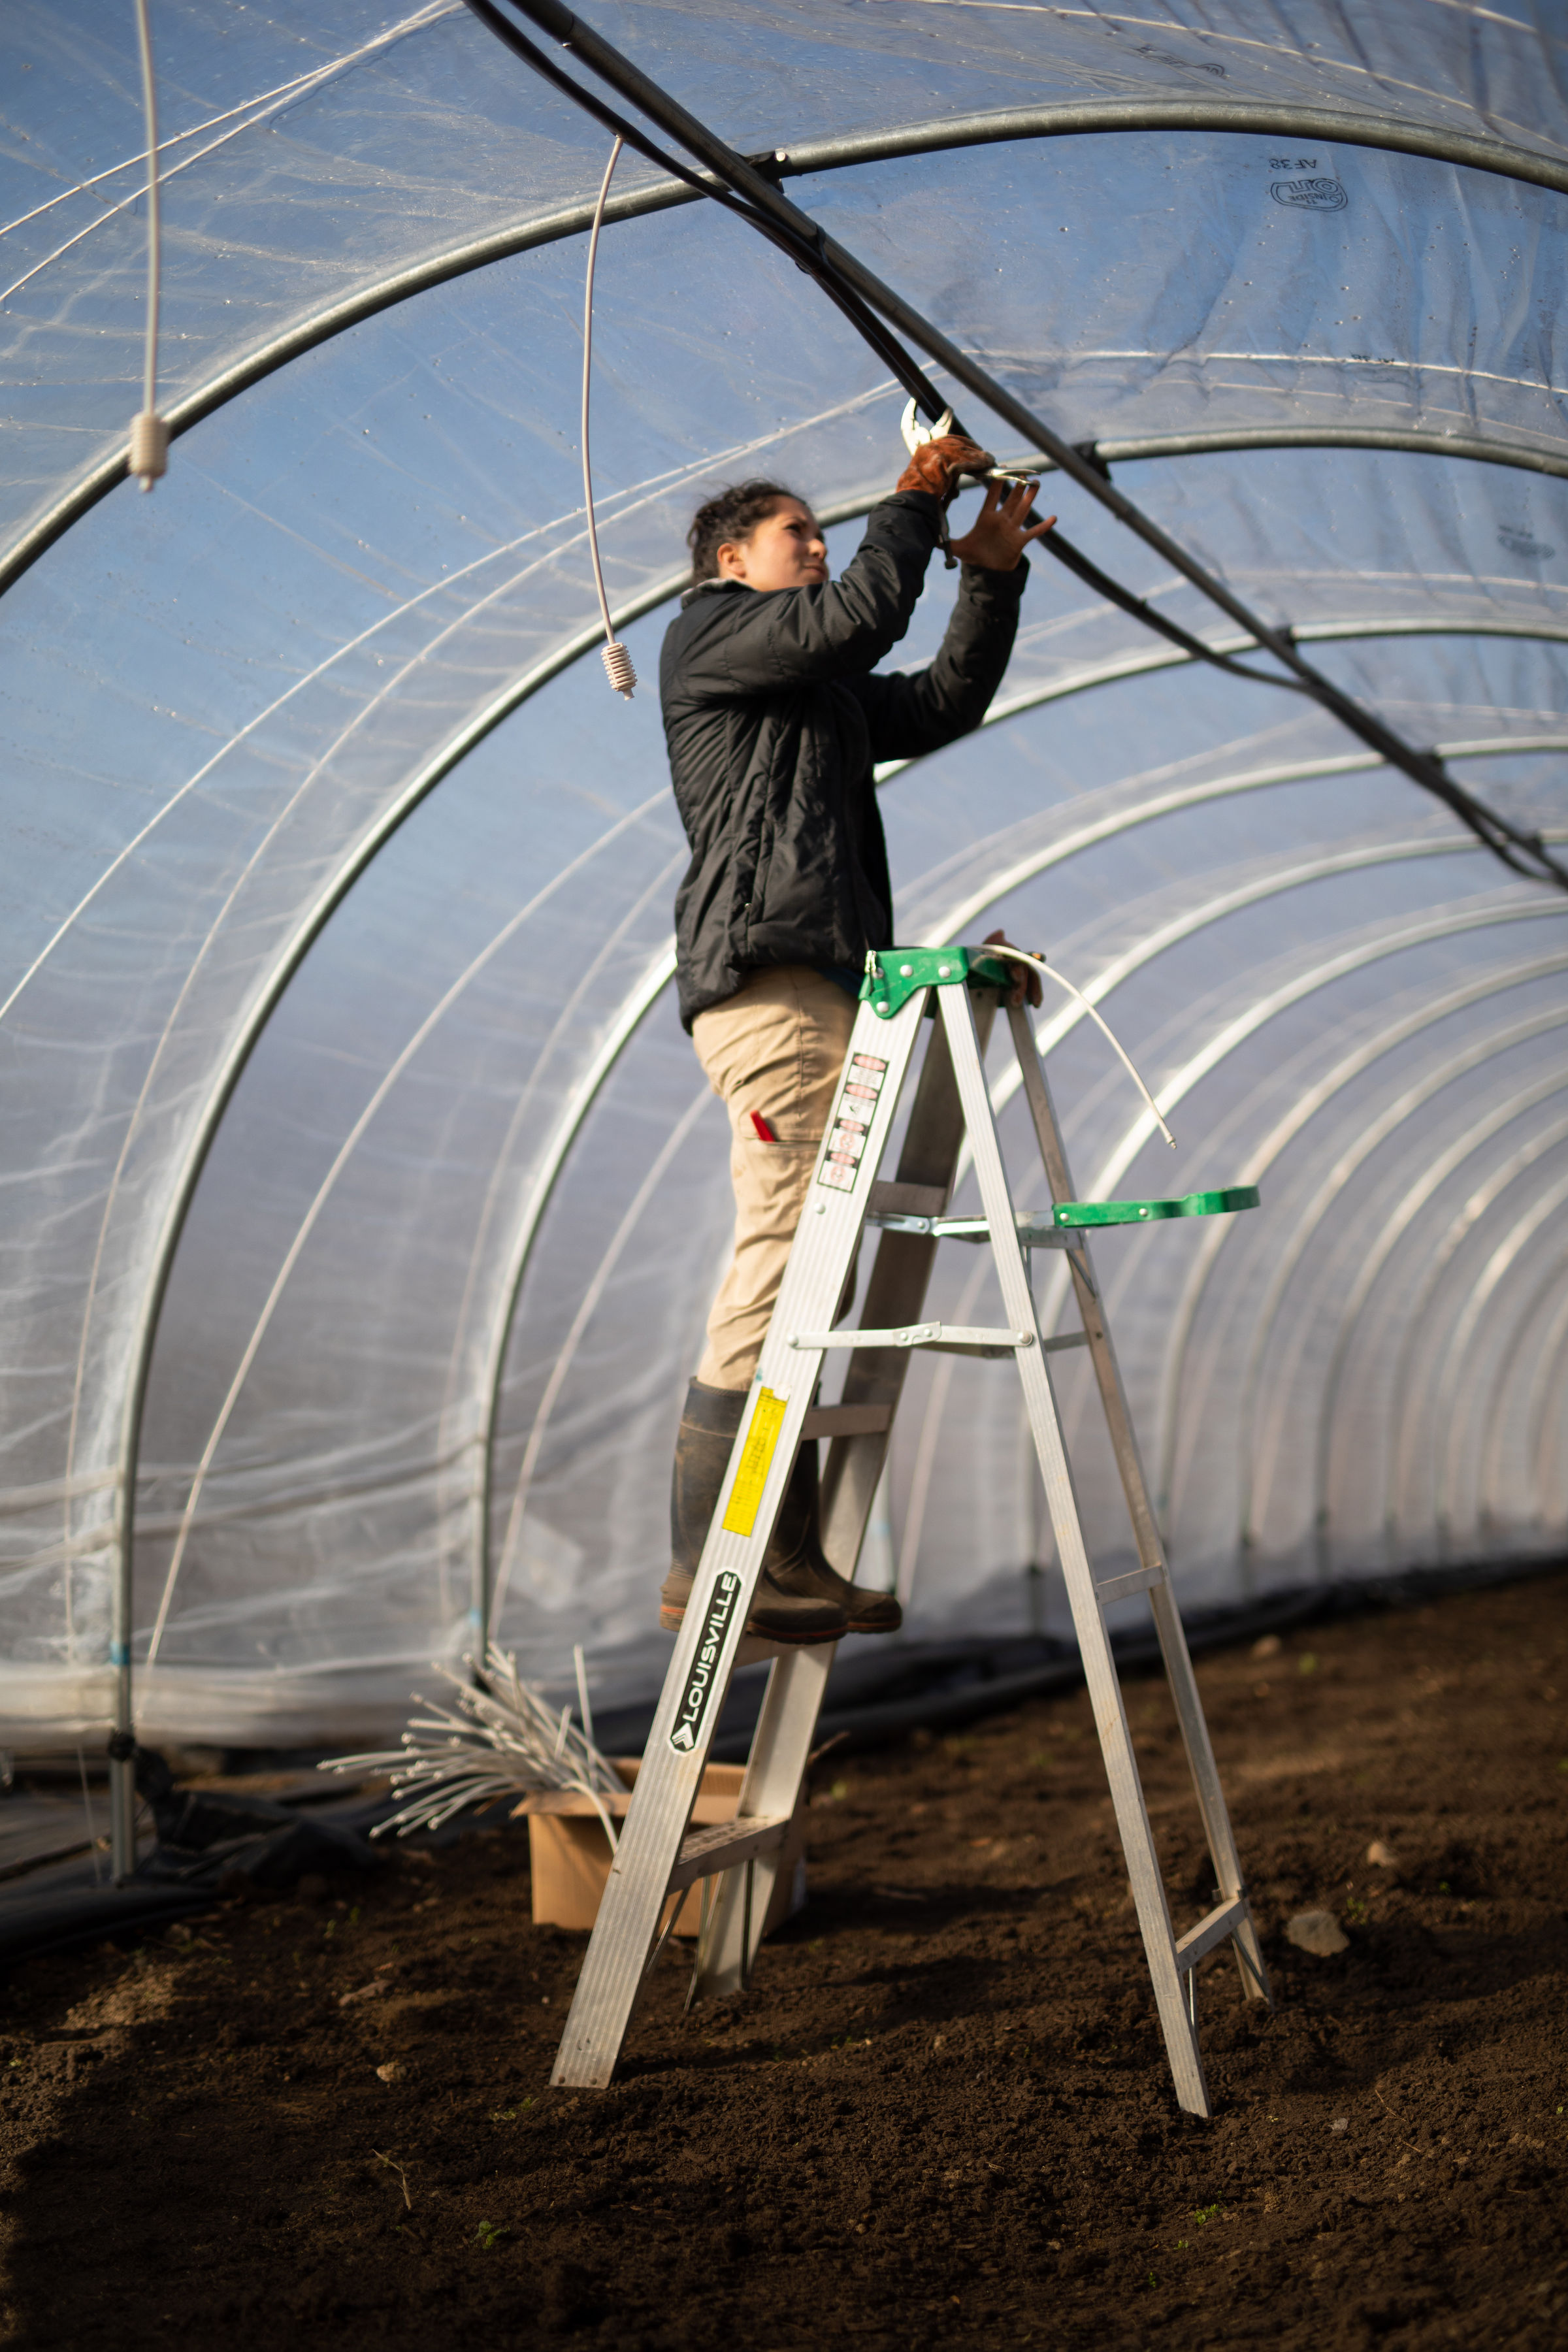
The other thing we did (which you can see Kevin working on in the left picture, and Erin working on in the right picture) is install overhead irrigation. The irrigation has small, oscillating emitters that hang from the header tube attached to the ridgepole of the greenhouse. They spray a fine, even, gentle mist that is great for watering in directly seeded crops and transplanted crops. We would never use something like this to water tomatoes, because they are highly susceptible to fungal leaf diseases and one of the major benefits of growing them in protected environments is controlling the moisture. But, it doesn’t hurt to let the overhead hang there all summer and then water the fall greens in September/October.
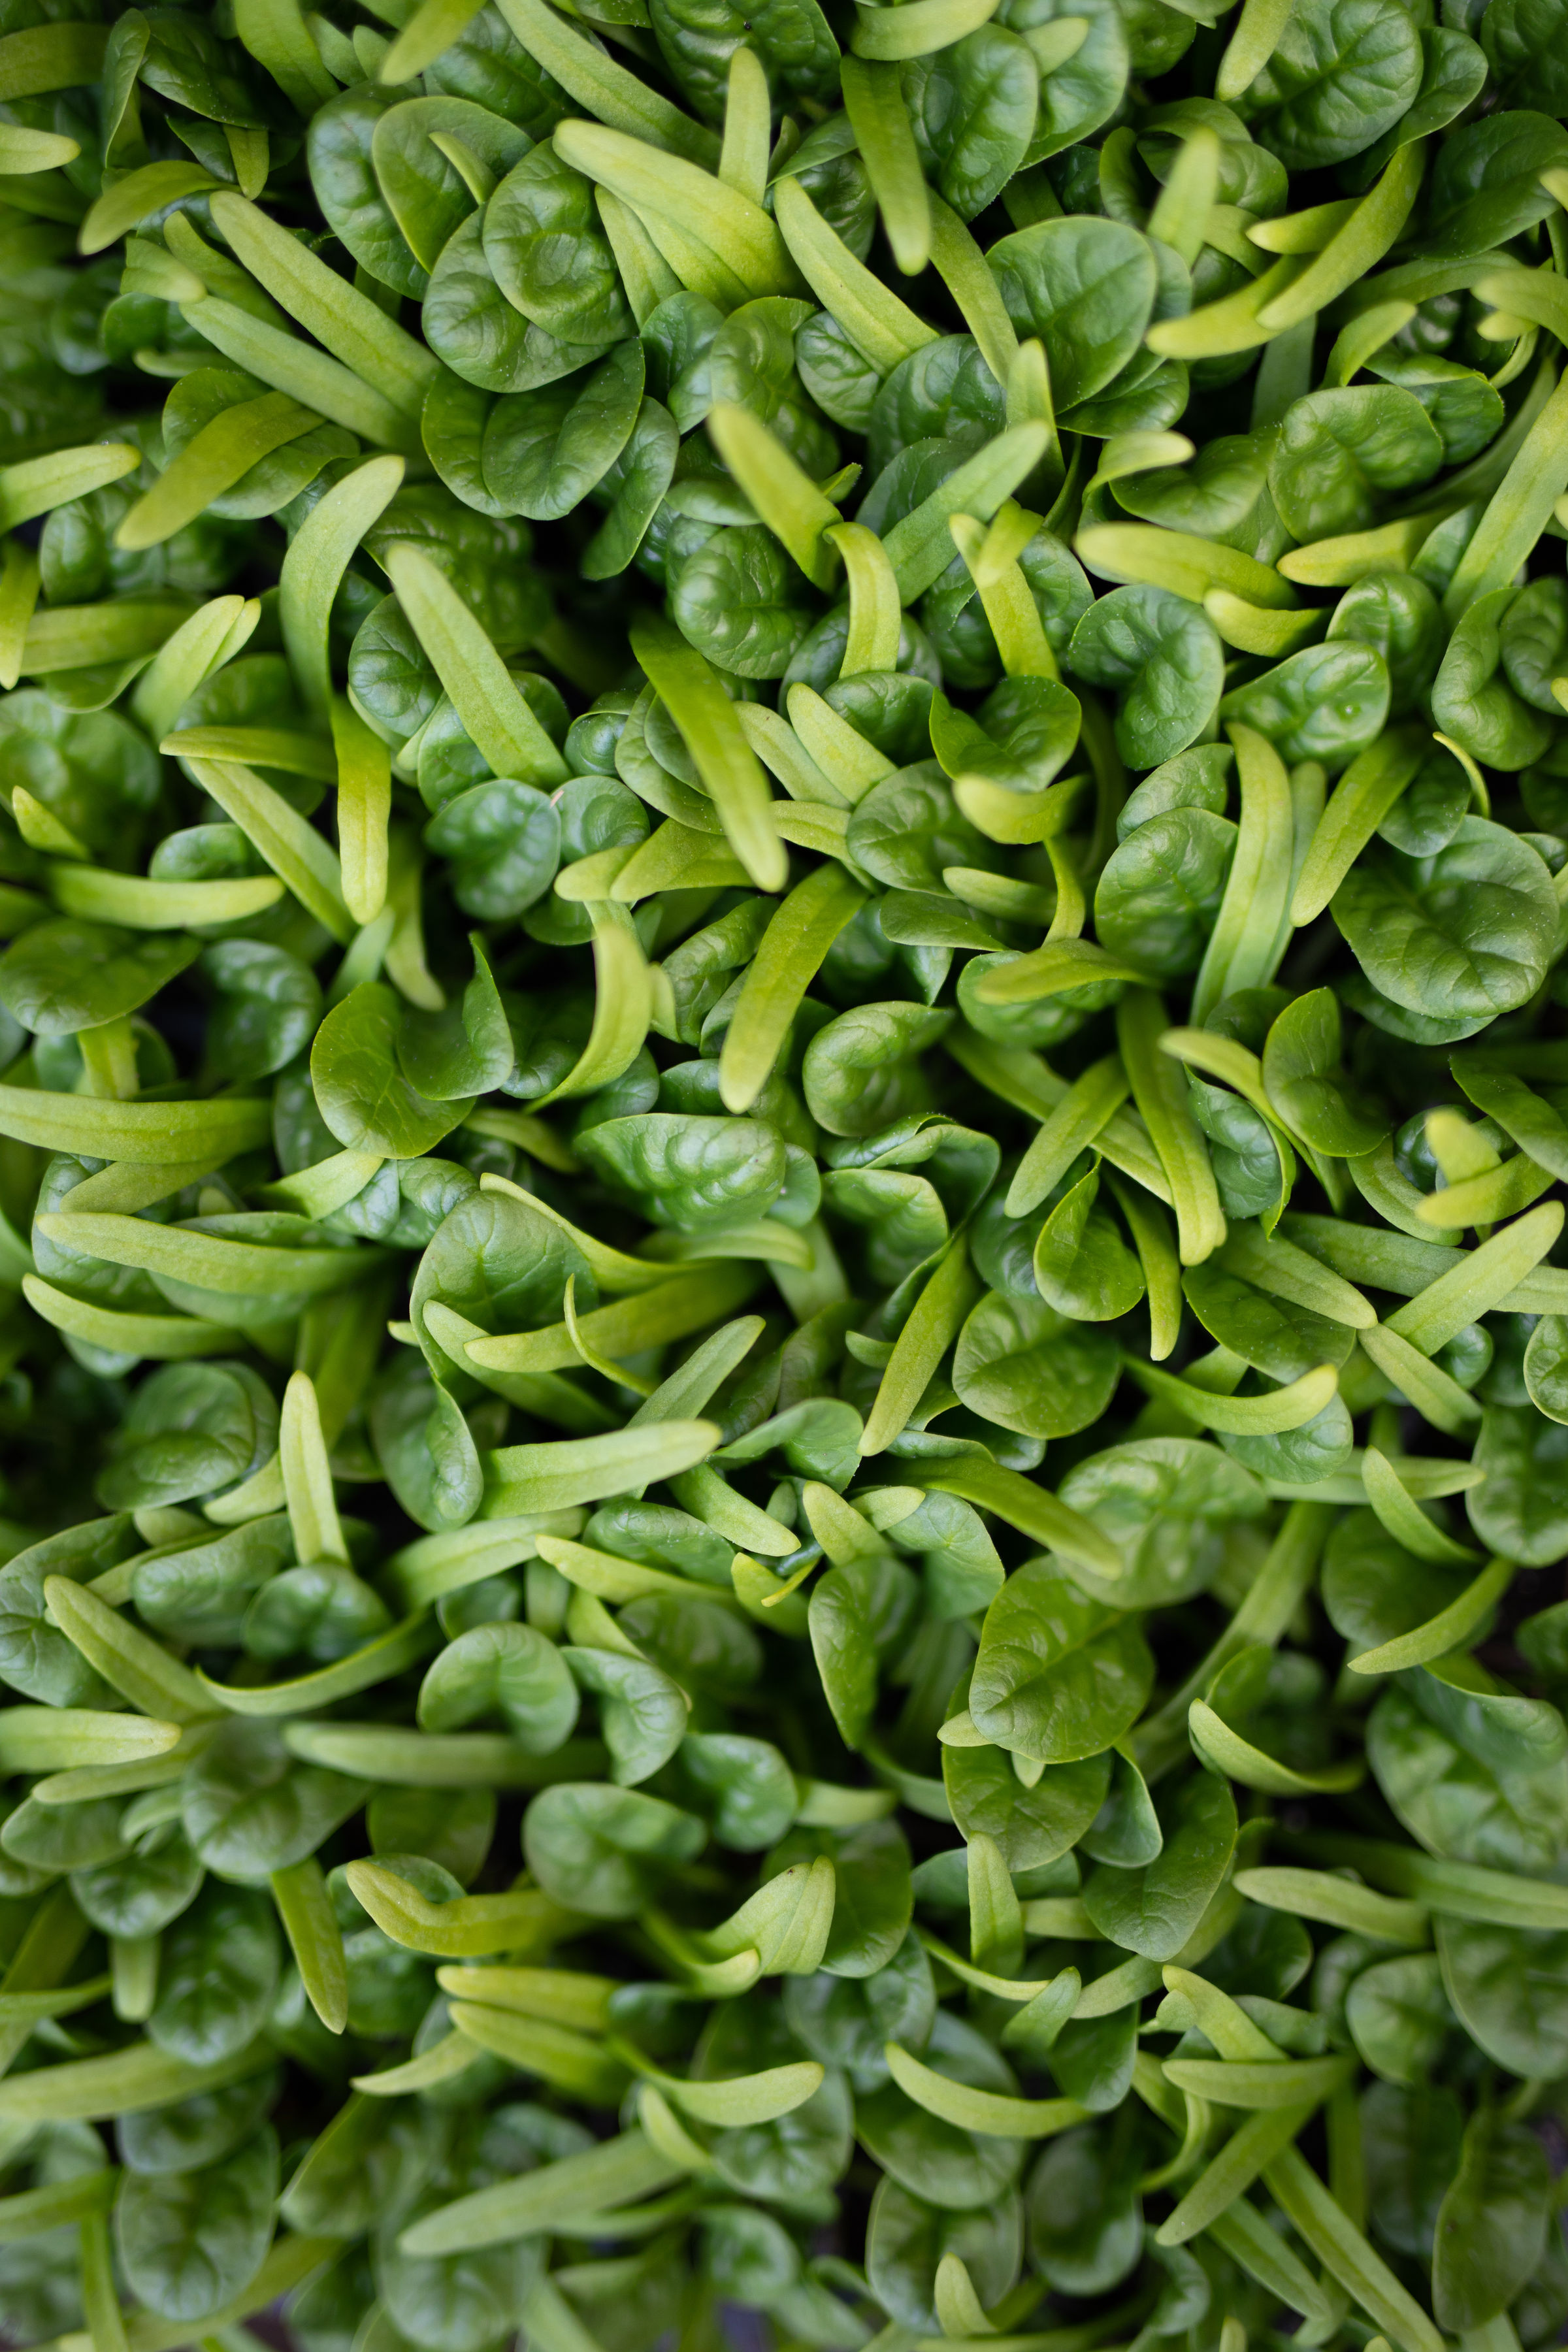

Our spinach, which was seeded 3 seeds per cell in 128 flats on March 1st was showing some signs of nitrogen deficiency. The pointy leaves that you see in the close-up on the far left are the cotyledons, the pre-formed leaves inside the seed casing that are first to emerge when the seed germinates. Their slight yellow coloration is an indication that they are deficient in nitrogen. We use an excellent point soil mix from Vermont Compost which almost always is sufficient for our seedlings until transplant, but there was a little bit of 2018 soil left in the soil bin when we started this year, that got mixed in with the first 2019 soil. The 2018 soil got rained on over the winter when the lid came off (we took the bin out of the greenhouse to make room for our winter CSA distribution). Rain leeches nitrogen from soil, which is what we think explains the deficiency.
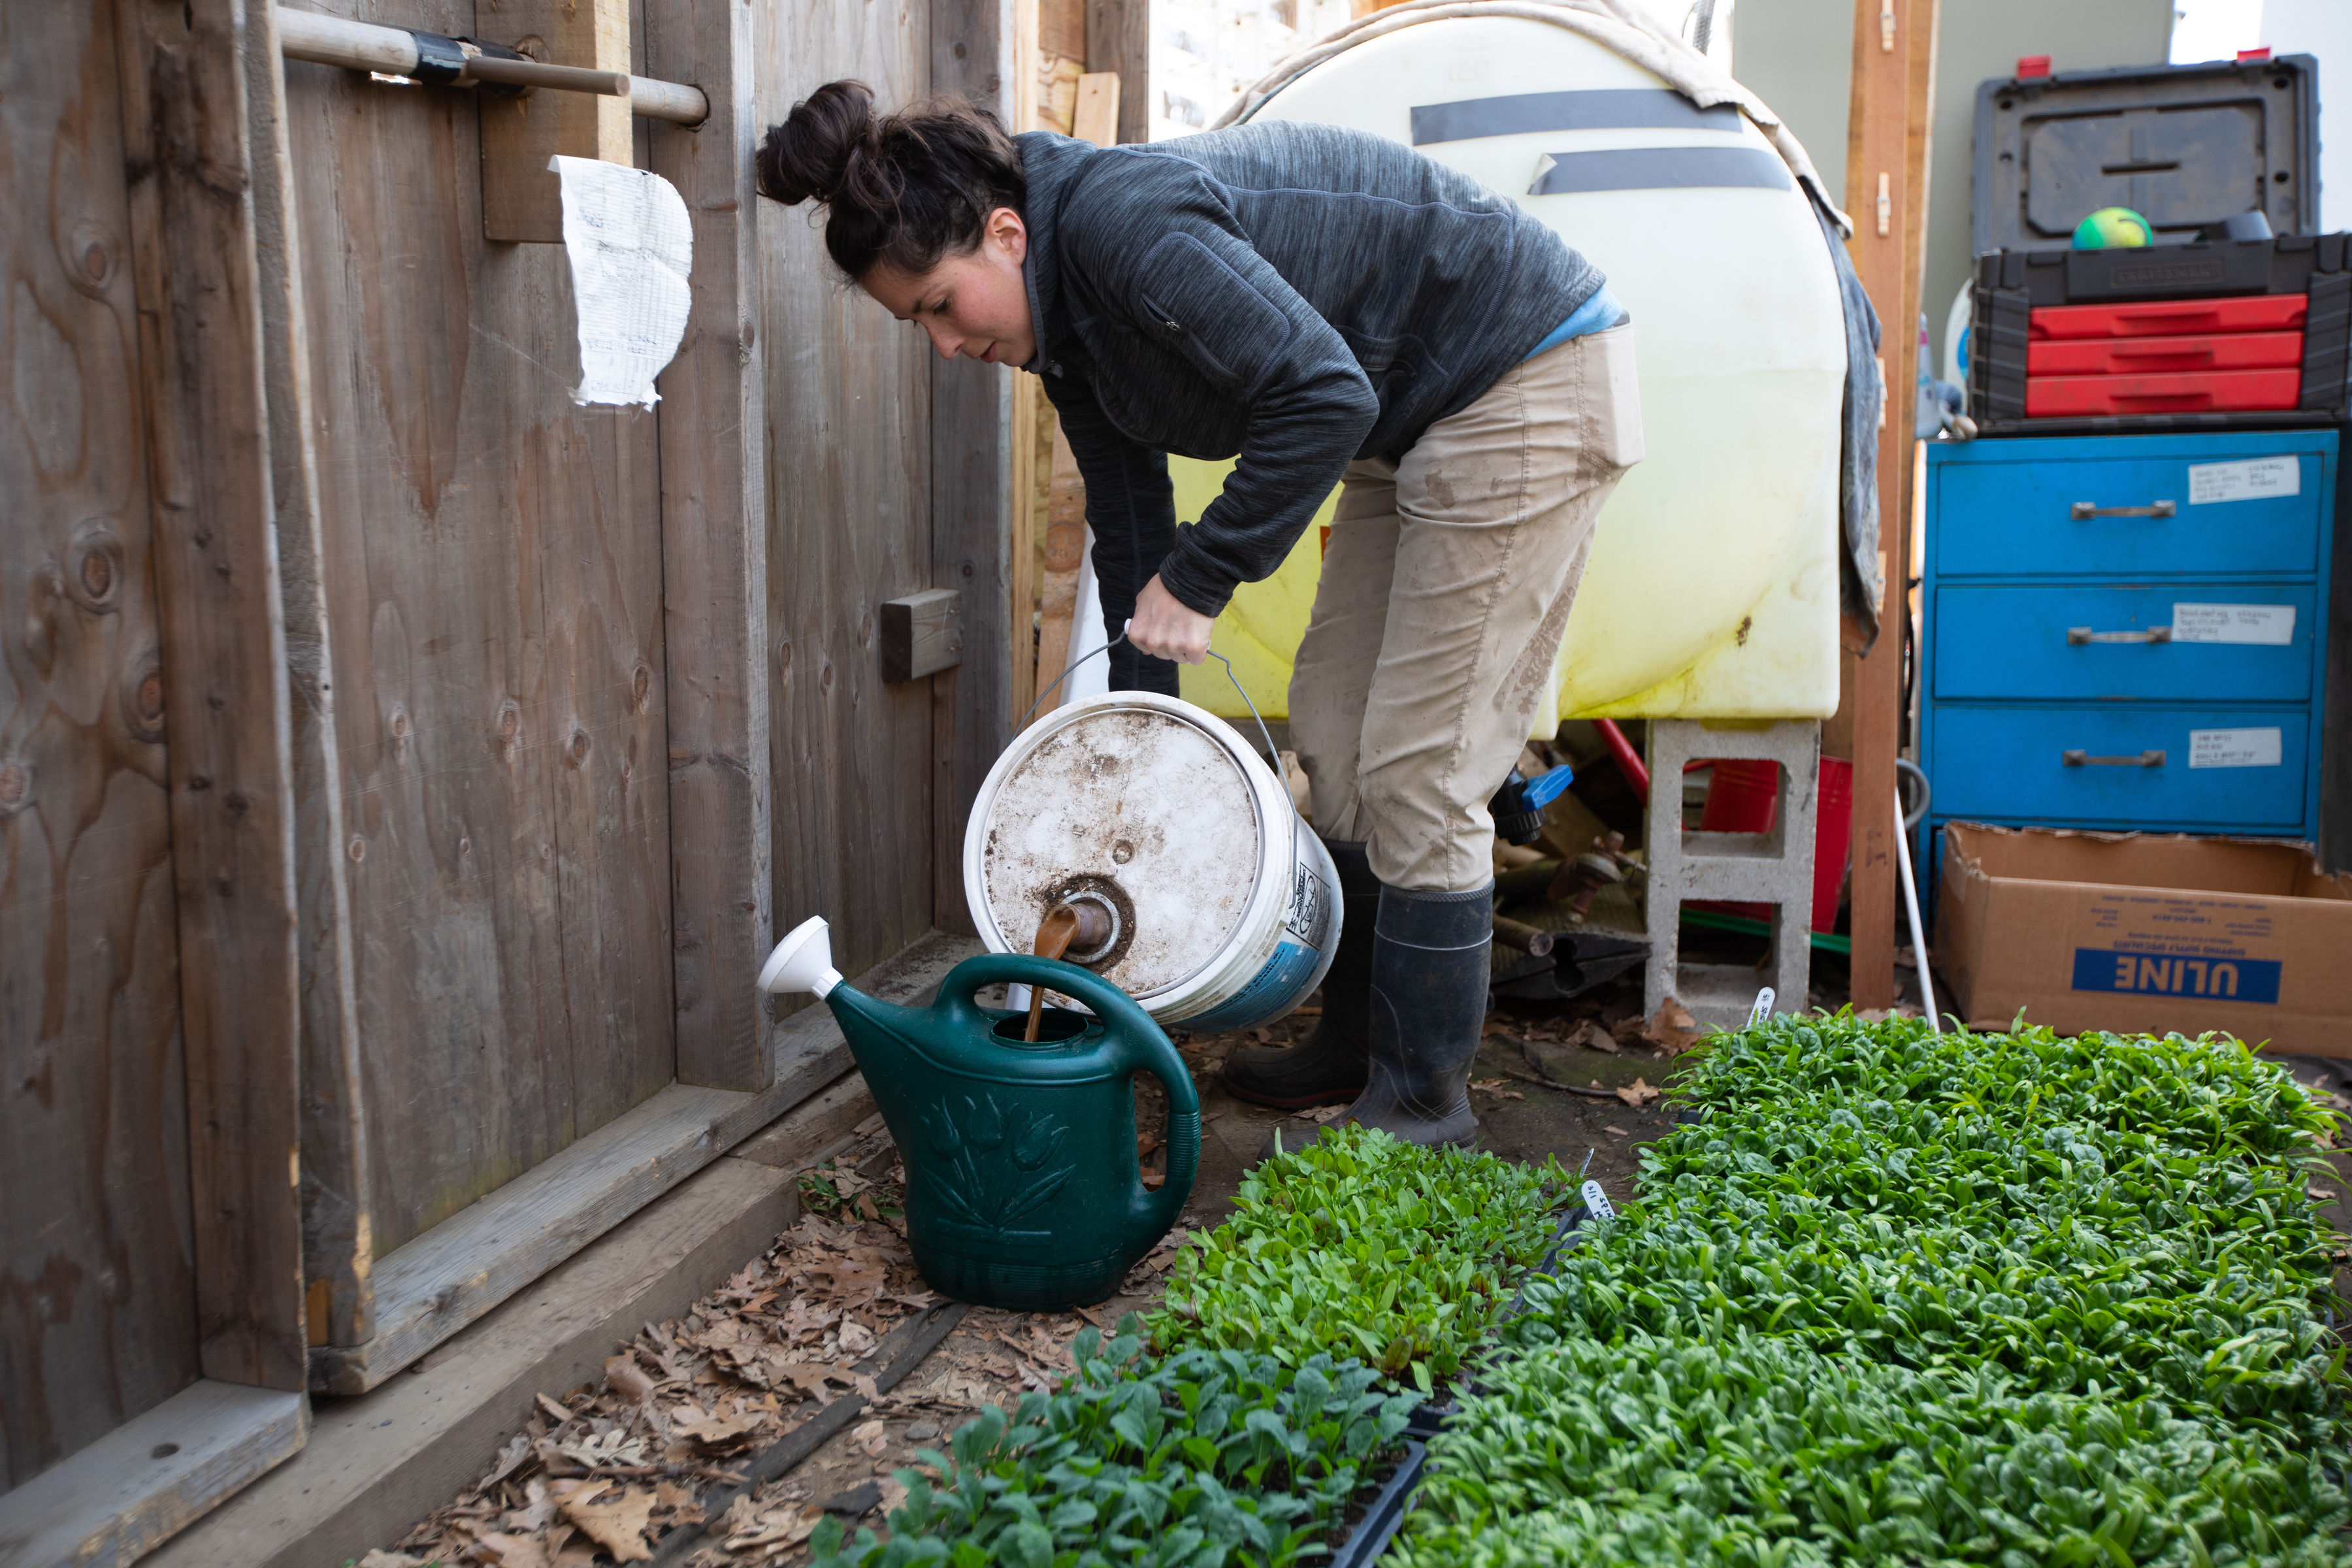
In any case, they are excellent transplants, despite showing a little hunger, and we gave them a ‘fishing’ for a little nutritional boost. Erin mixed just a tiny glug of fish emulsion (literally super ground up fish guts, the waste product of fish processing) with water and watered all our trays before we carried them on a handy plant stretcher to be planted in the tunnels. This liquid fertilizer is highly available to our plants, which is great for a small boost, but because of its availability it is not very stable, and is not a lasting source of nutrition (unless you keep applying).

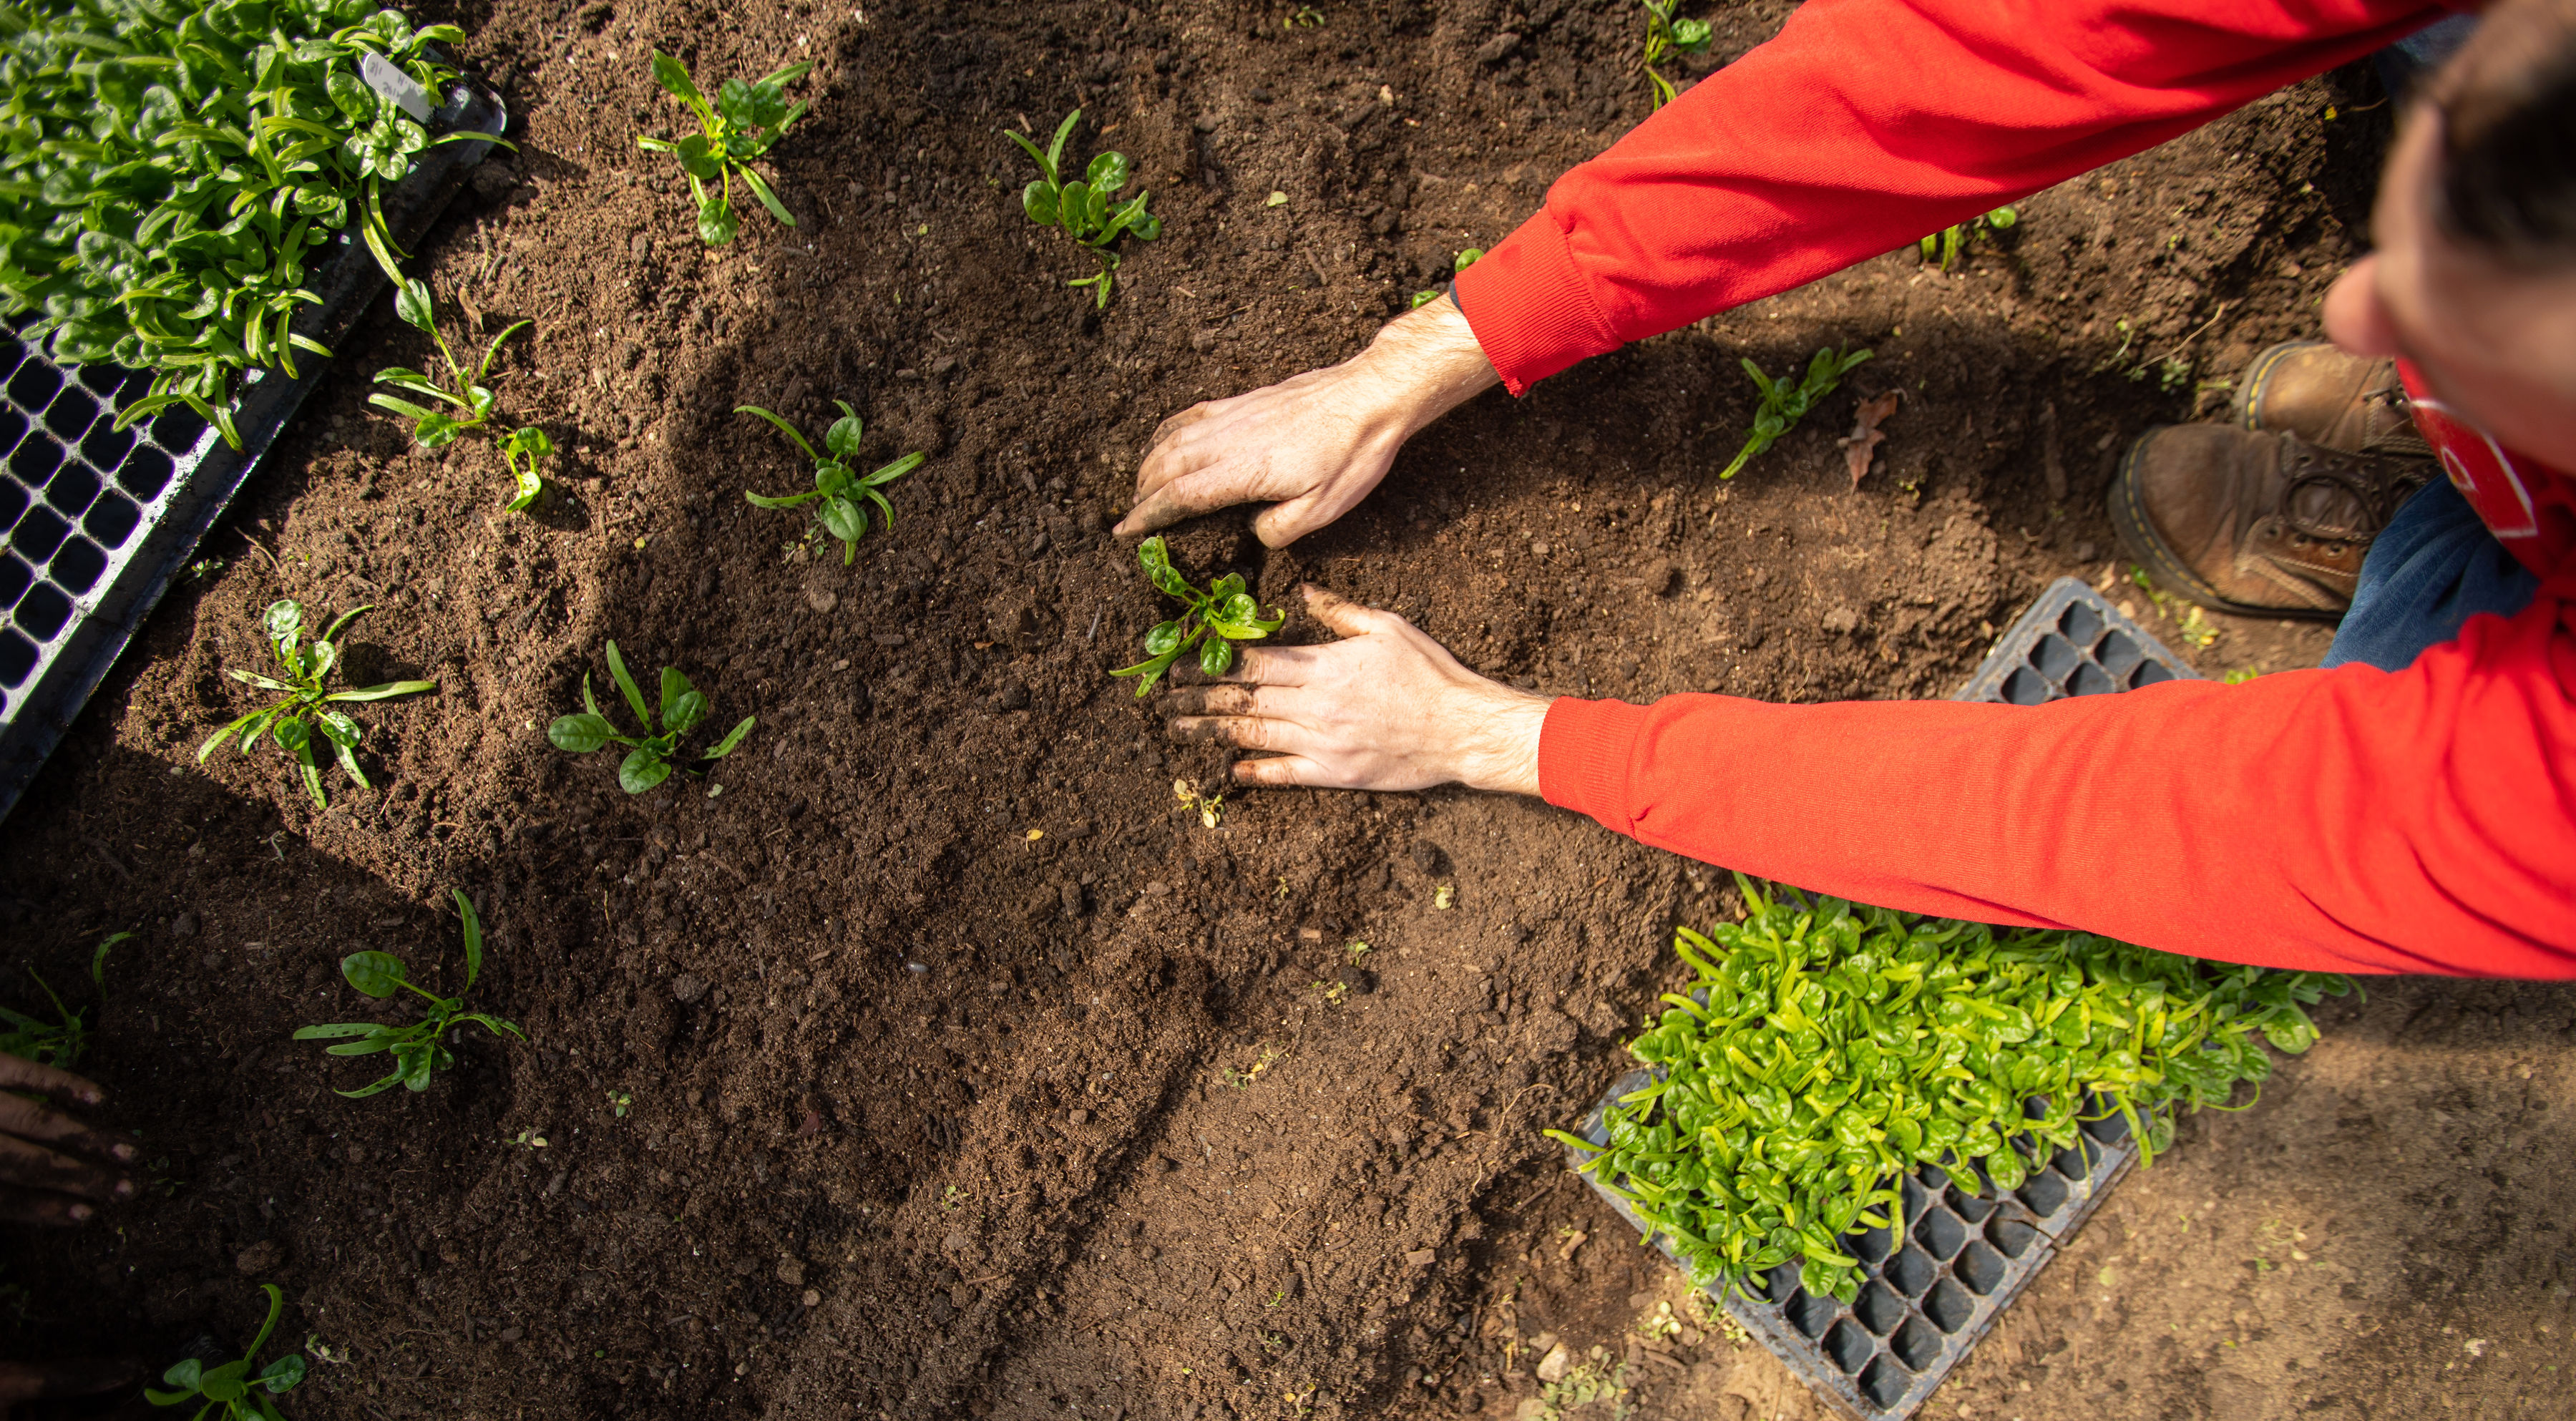
We plant the spinach plugs 6″ apart, 4 rows/bed. It took just under 12 flats to plant 3 beds. The other three beds were planted into: direct seeded french breakfast radish, direct seeded arugula, and one bed was half swiss chard transplants, half lascinato kale transplants. The soil is loose enough to plant just with our hands, but the trowels have markings that help us measure how far apart our seedlings are. They are planted in a grid pattern.

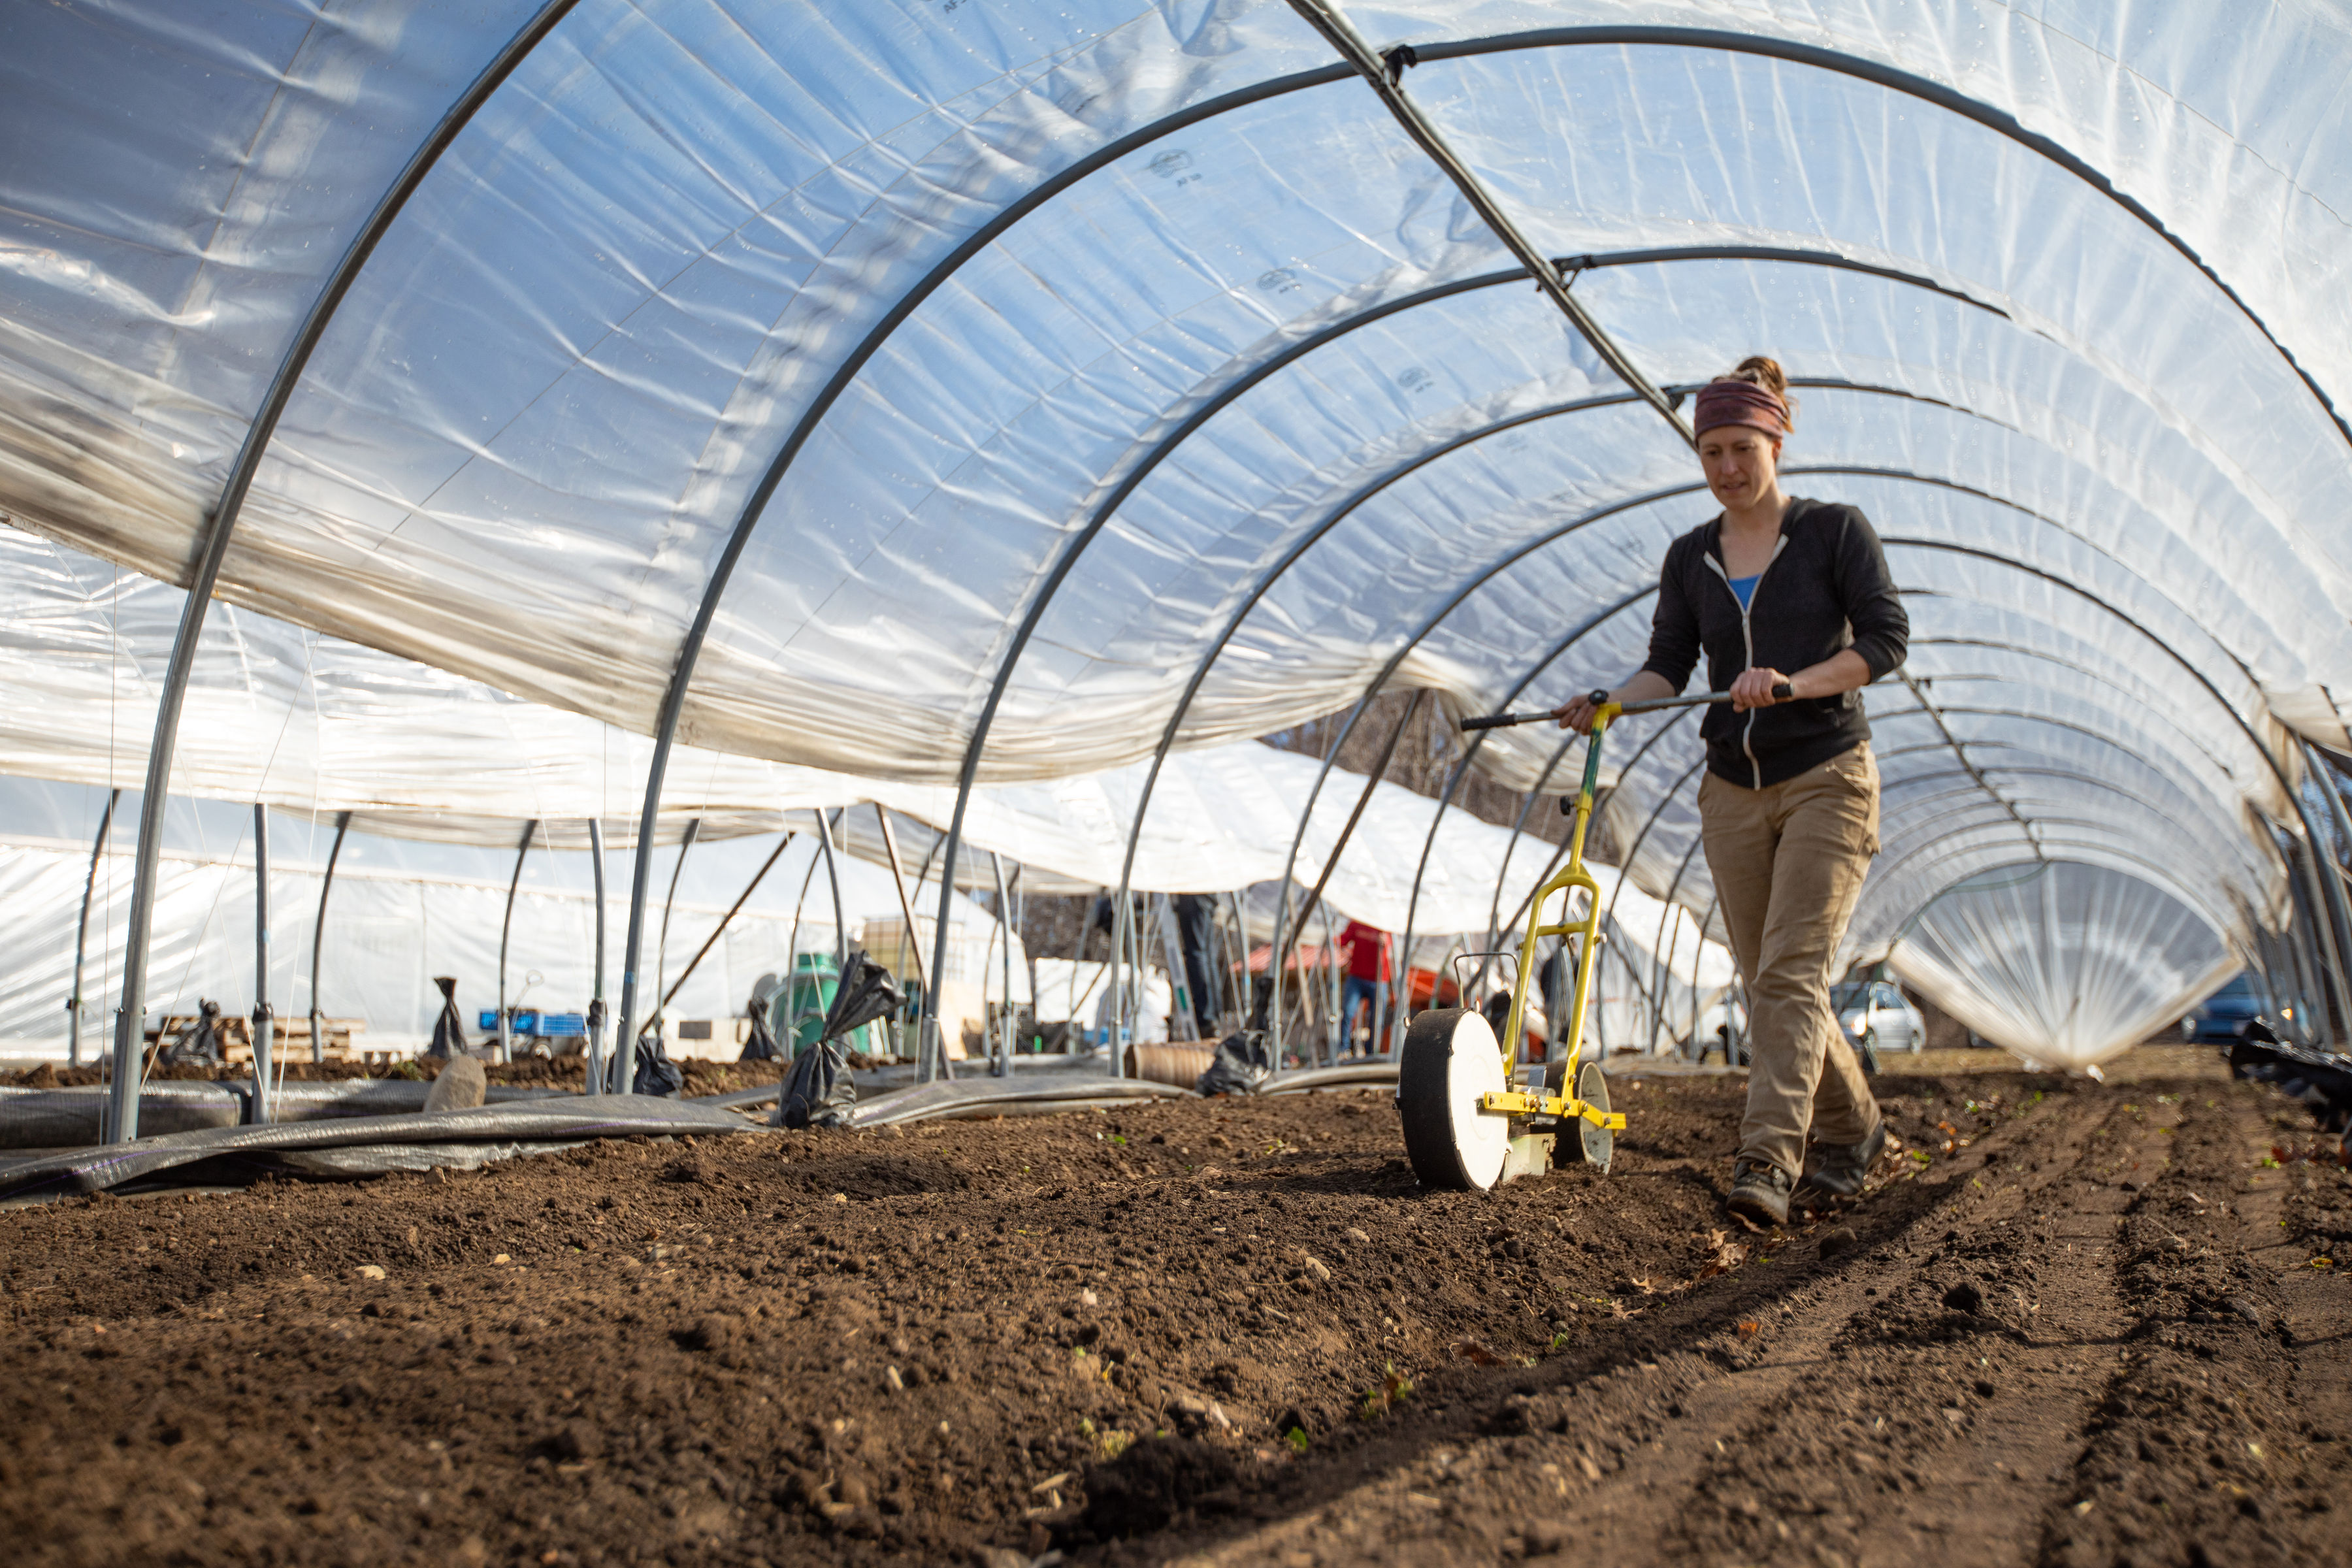
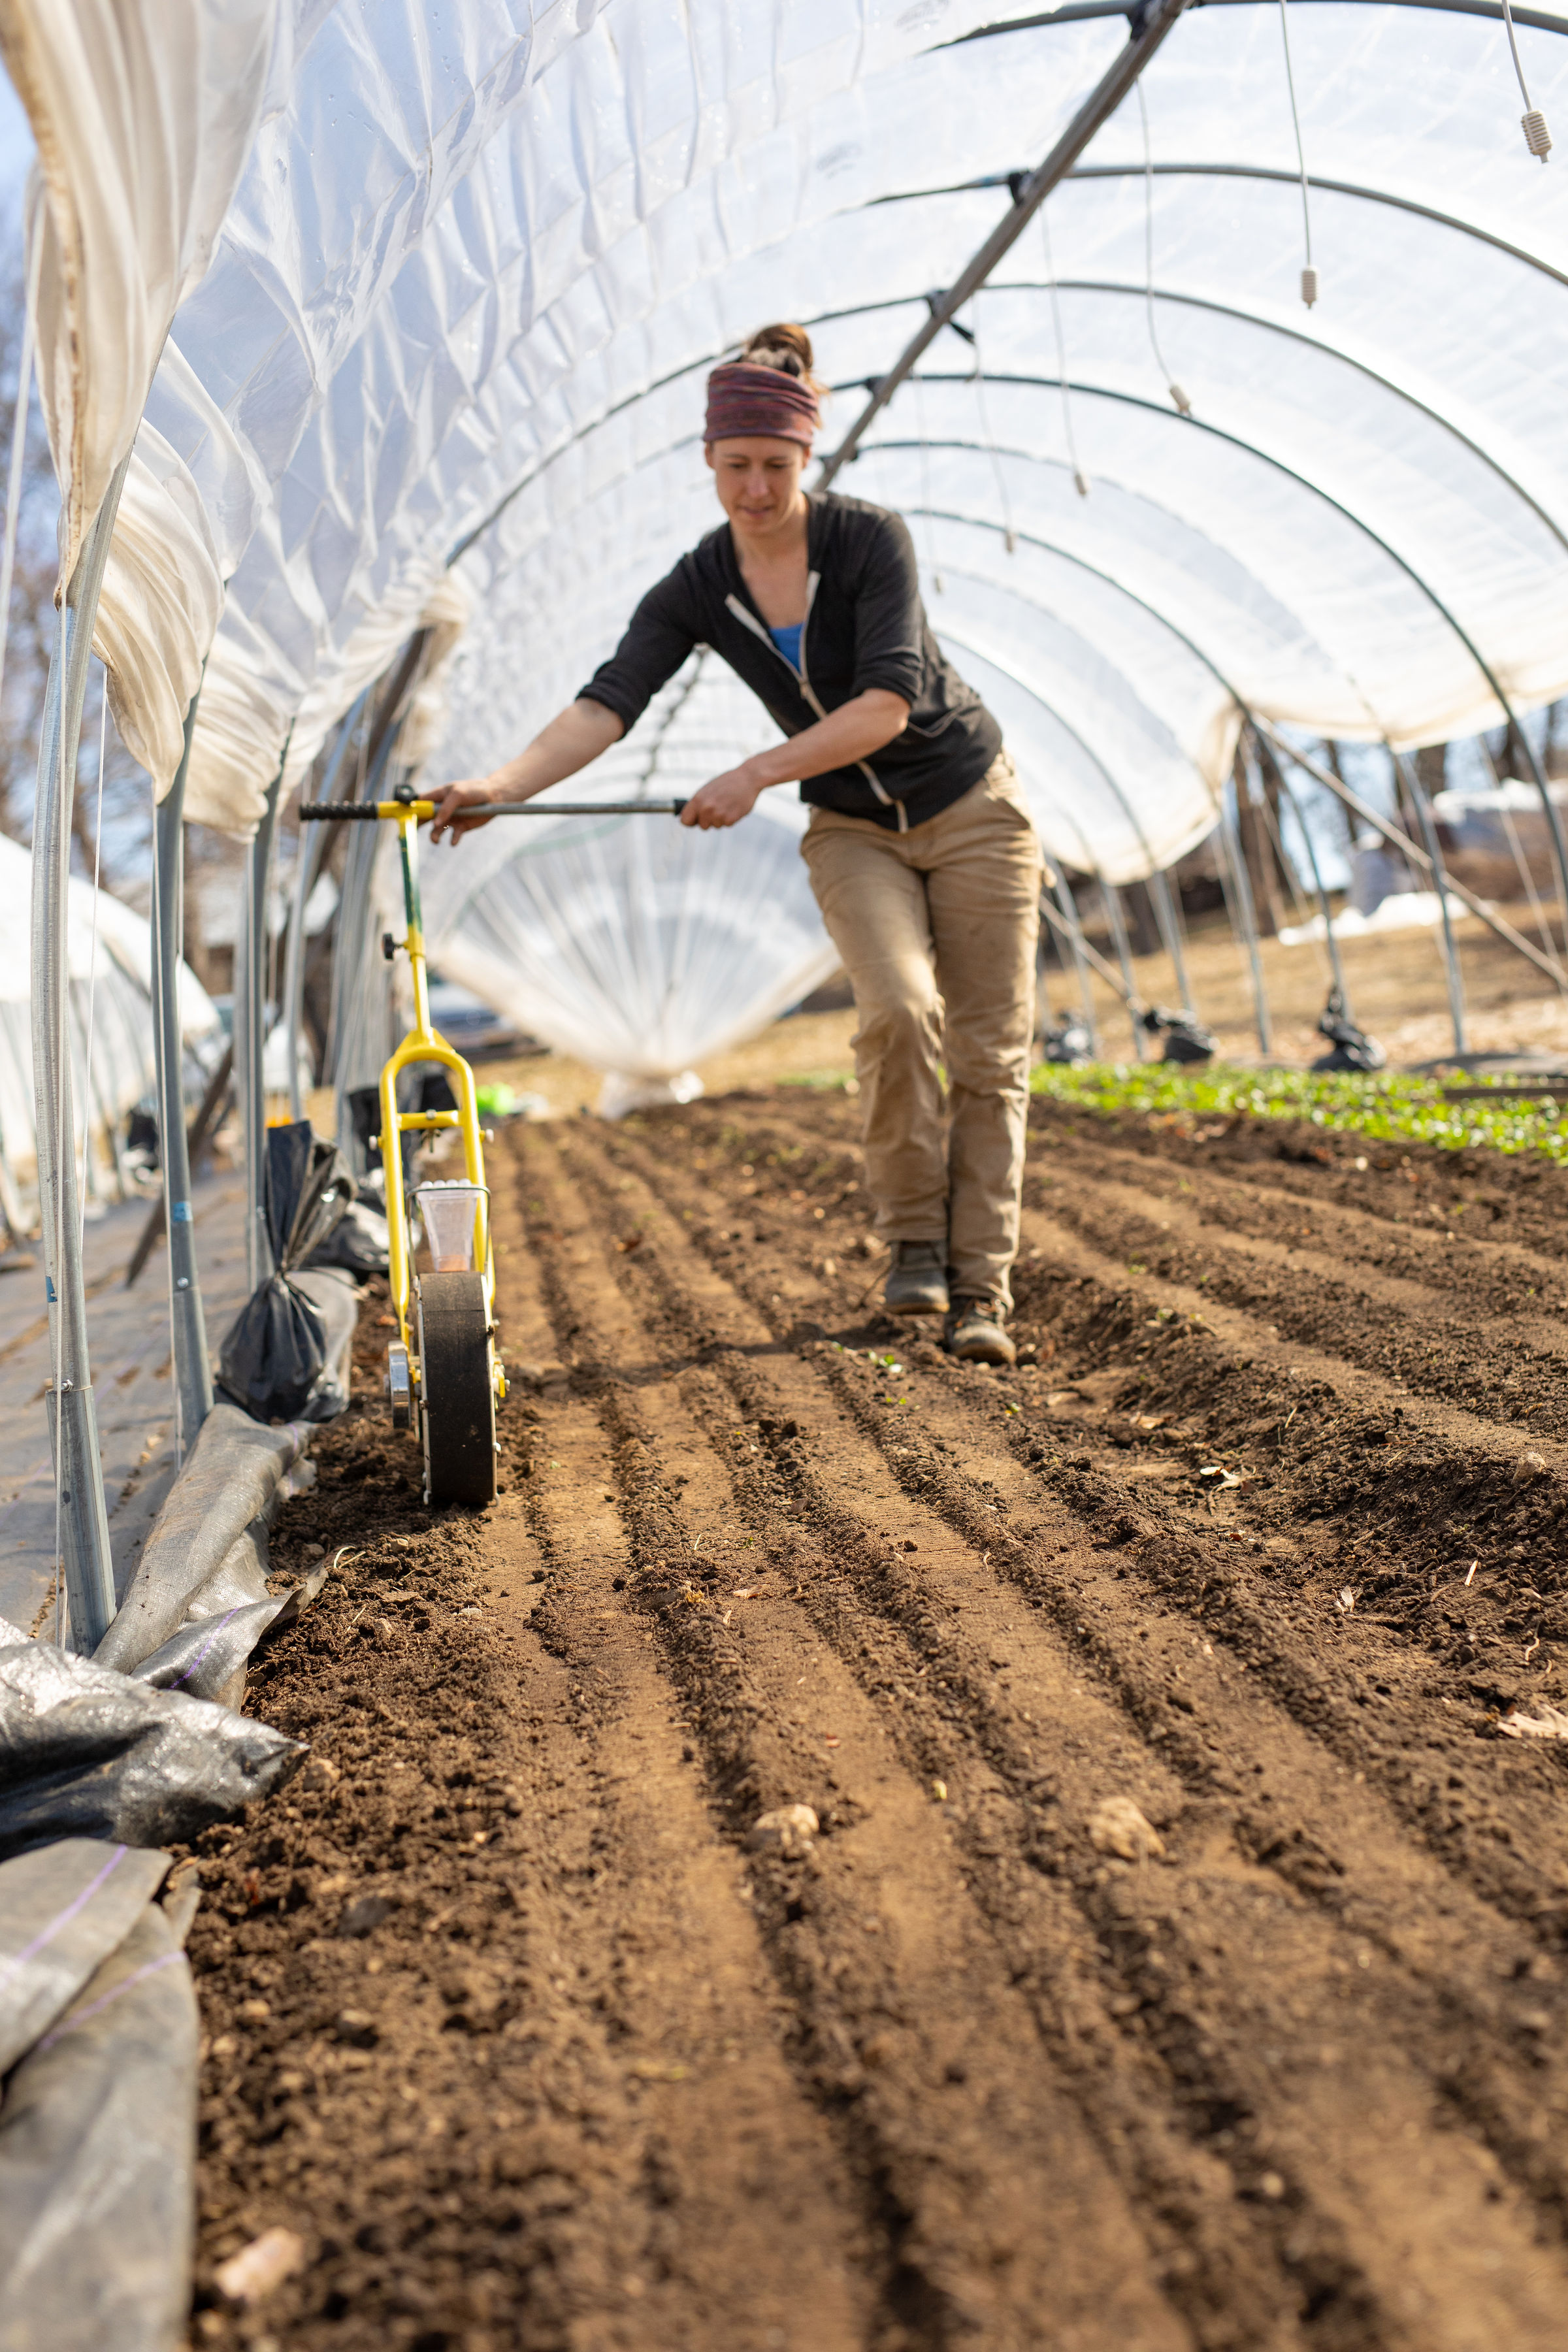
We use a Jang Seeder to plant the direct seeded crops. It is a very precise seeding tool with multiple adjustments that allows us to plant the exact number of seeds/foot we desire (after a little fussing with it….).
So now the beds are all planted, watered in and covered with multiple layers of floating row cover at night to keep the soil warm and the frost out of the tunnels. The arugula has already germinated and I’m sure radishes are right behind.
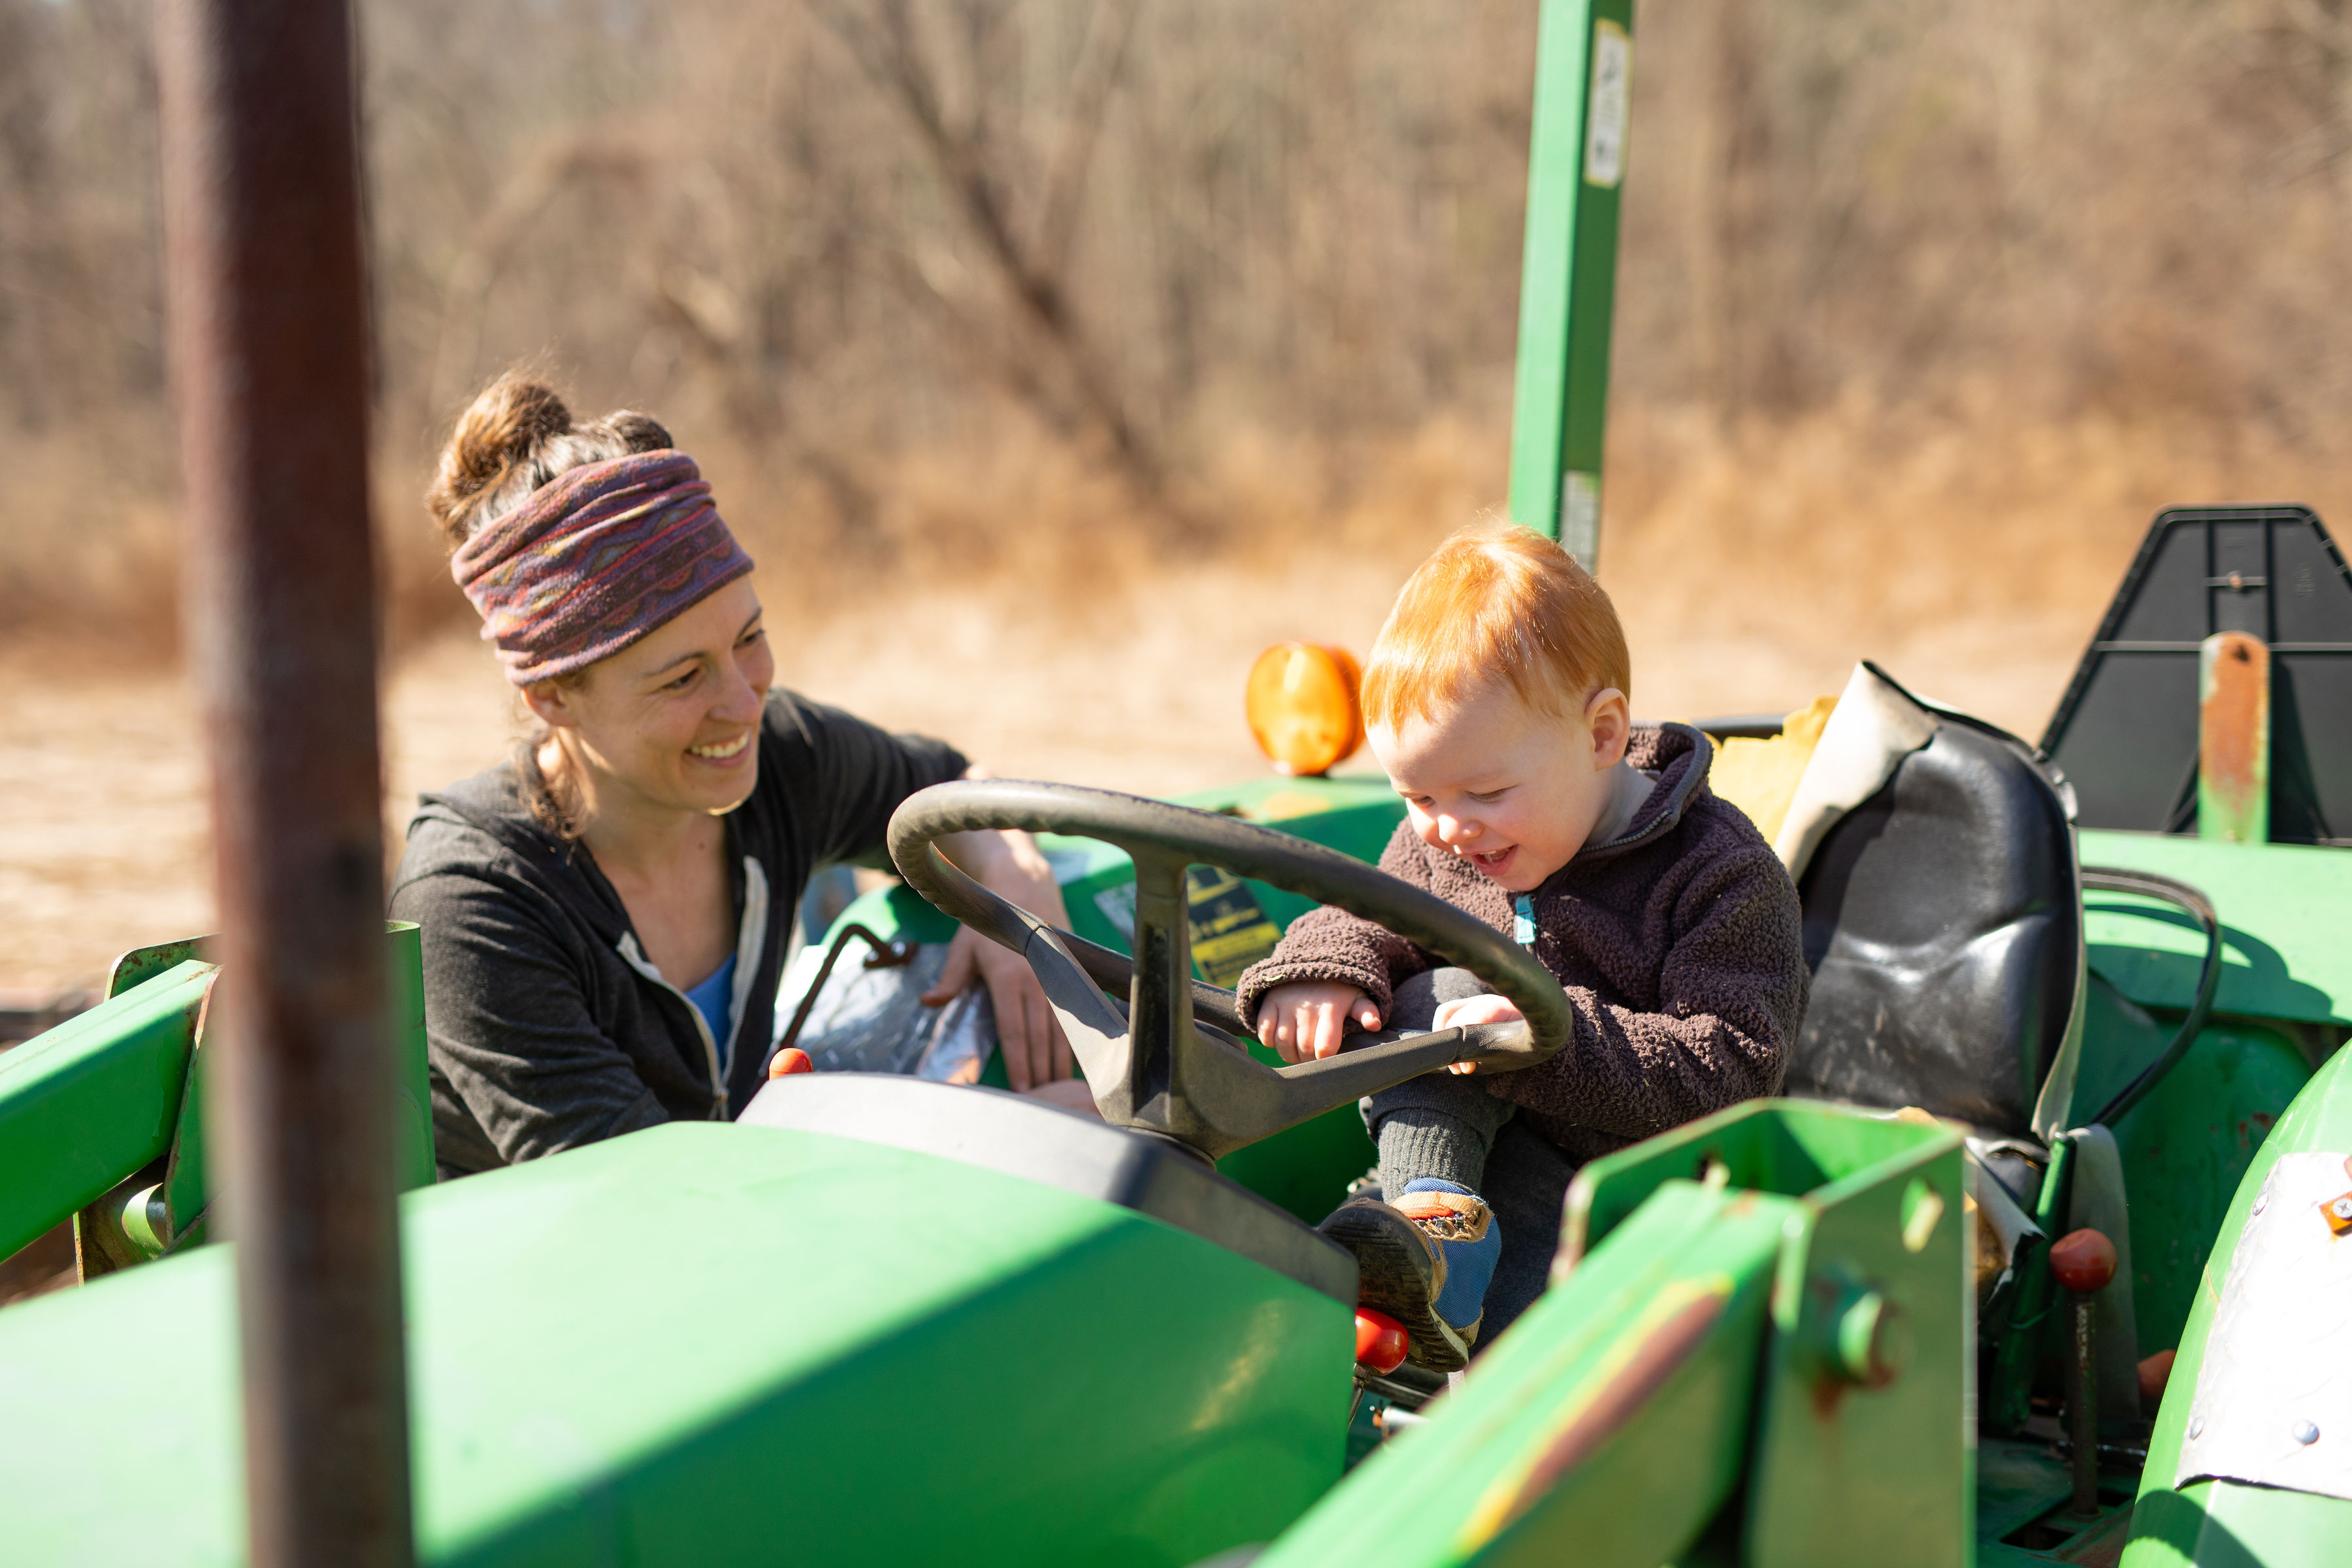
Thursday is our no-child-care day, so Harvey got to ‘help’ a little bit.

Well, I hope you learned something, and got excited about spring vegetables!
Follow us on Instagram and Facebook for more regular updates on what goes on at the farm!
